
What is orchid root rot?
Orchid root rot is considered a rather dangerous disease. Root rot provokes decay of the healthy roots of the orchid plant.
Signs of orchid root rot
- The roots become soft and acquire a dark shade. It’s all caused by bacteria. Such roots are not treatable. They need to be completely removed.
- Yellow leaves. All orchids are characterized by green leaves that protrude from the stems. If they began to spin and turn yellow, then the plant is sick with root rot.
- Drooping leaves. Over time, they will completely crumble because the roots get sick. This suggests that the disease has begun to affect the stem, and salvation is almost impossible.
- New leaves are weak. As already mentioned, the leaves should be firm. At first, young leaves are soft, however, they harden very quickly. If this does not happen, then there is a problem that needs to be solved.
- Fragility or death of the roots. Root rot may manifest itself in the form of brittle roots. The outer roots will die first.
- Shedding of buds. They will be discarded until the moment of full formation. Perhaps the beginning of their growth, however, soon they will crumble.
There are several ways to prevent or stop orchid root rot while restoring flower health. If you do not proceed with immediate treatment, the plant will die.
Causes of root rot
The roots will be wet for a long time, which negatively affects their immunity.
Prolonged contact with moisture destroys the upper shell of the root, and it ceases to absorb water and nutrients. After that, it may even die. Root rot is often caused by mold, fungus, and spores.
Often such pathogens, in combination with a humid environment, begin to multiply. After, they infect the healthy roots, provoking root rot. The penetration of the fungus through the damaged stem is not excluded. After it seeps into the roots and provokes the death of the plant.
How to care for orchid roots?
An equally common question is: Can an orchid recover from root rot? At the first suspicion of a disease, it is necessary to inspect the orchid’s roots.
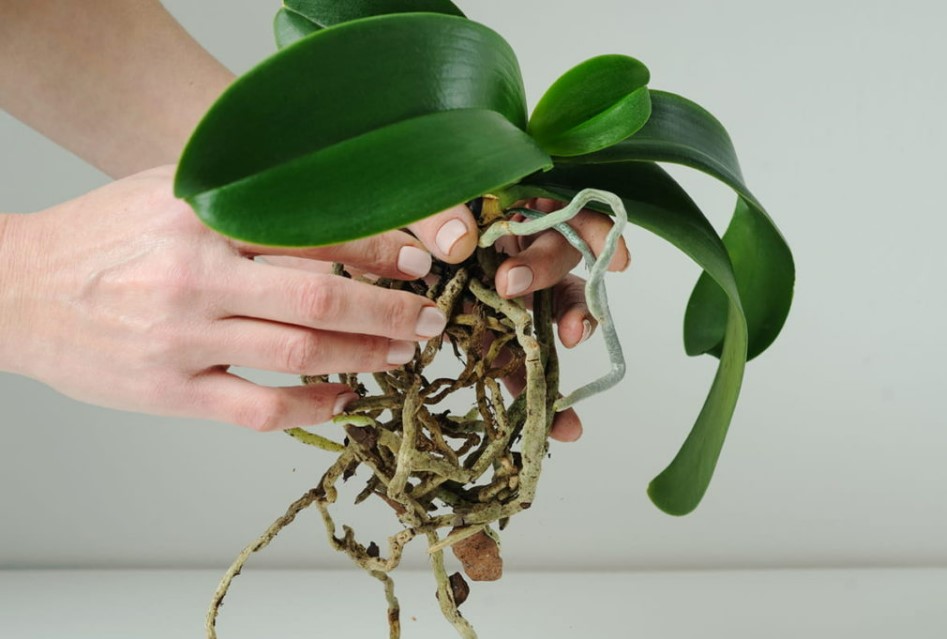
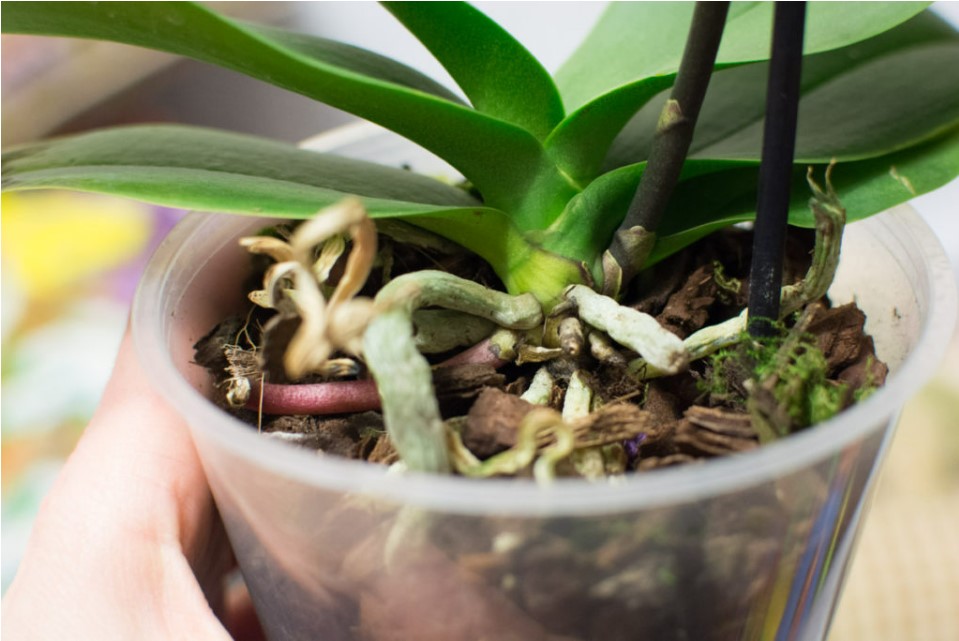
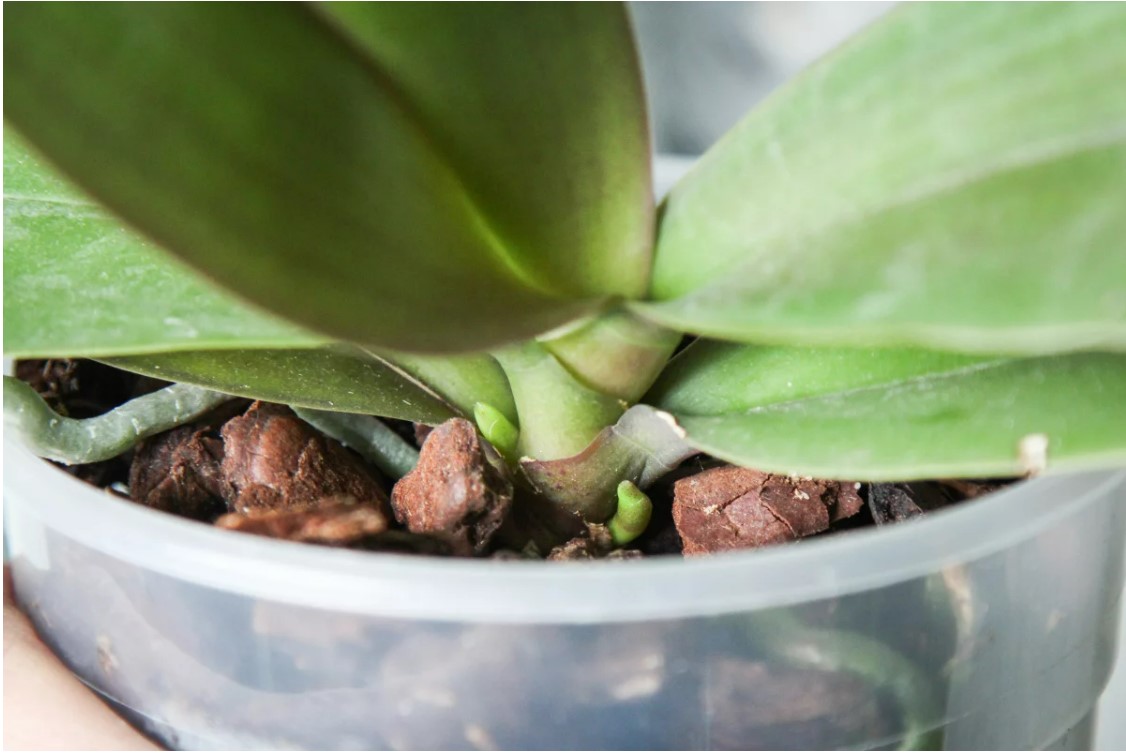
First, you need to check the problem areas of the phalaenopsis orchid. Slightly move the soil that is at the base of the plant. Roots should appear.
If they are soft and dark brown, then the problem exists and requires an immediate solution. The chances to treat orchid root rot are few, however, they exist. More likely to be saved if only the outer roots were rotted.
There is clear instruction, on how to prevent root rot, and it must be followed. Everything will be discussed in more detail below.
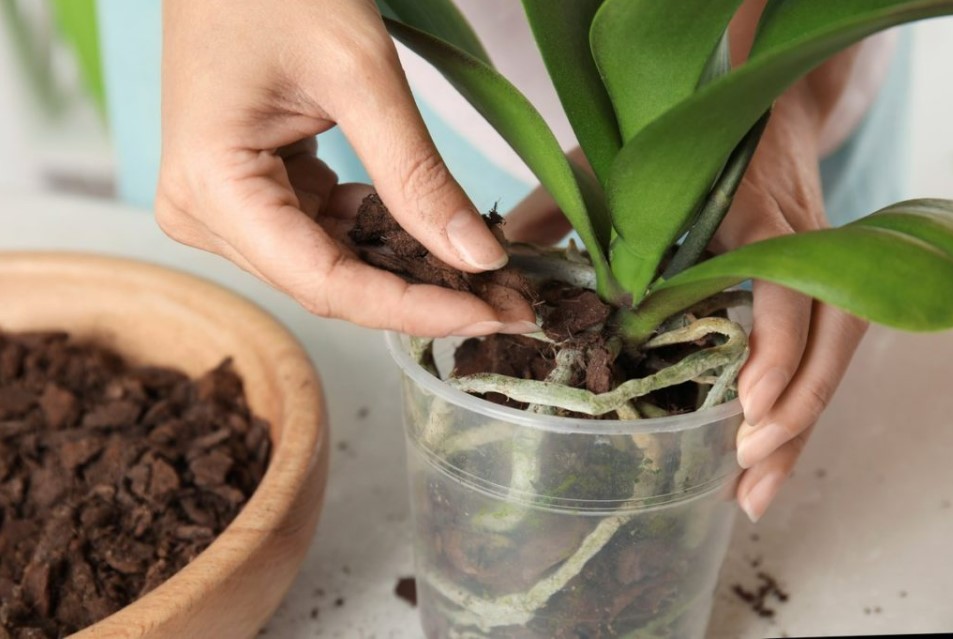
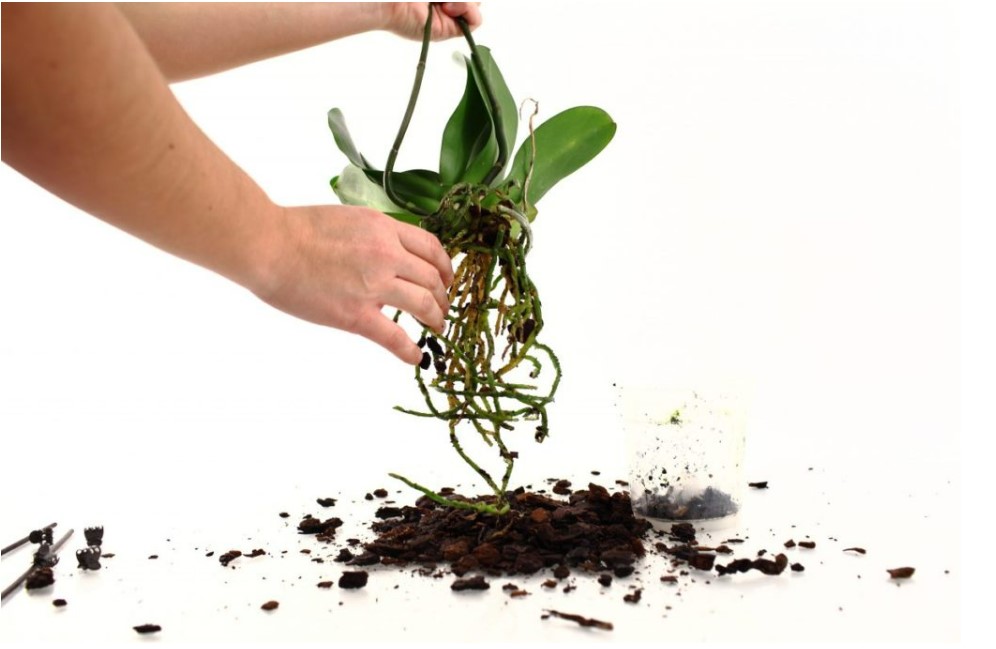
Remove the plant from a pot and carefully separate the soil from the roots
To restore an orchid with rotting roots, it is necessary to remove the plant from the soil. After all, it contains a bacterial infection.
Work better with help of the long and thin tool. Even a stick for Japanese cuisine will do.
Lower the tool into the pot. Keep it between the potting medium and the pot walls. After that, you need to run the tool along the edges of the container so that the soil moves away from the container a little, and does not fit so tightly to it.
As soon as the procedure for loosening the soil is carried out, it is necessary to carefully tilt the container. Hold the flower at the base of the stem. Fixation should be strong, however, be careful not to damage the culture.
If the plant was planted in a plastic container, you can squeeze its walls a little. So, the soil will be easier to separate from the walls.
After, the orchid should be easily removed from the container.
As soon as you get the plant out of the pot, the container must be removed to the side. It won’t be needed anytime soon. Keep the orchid in the air and clean its roots from the clod of earth.
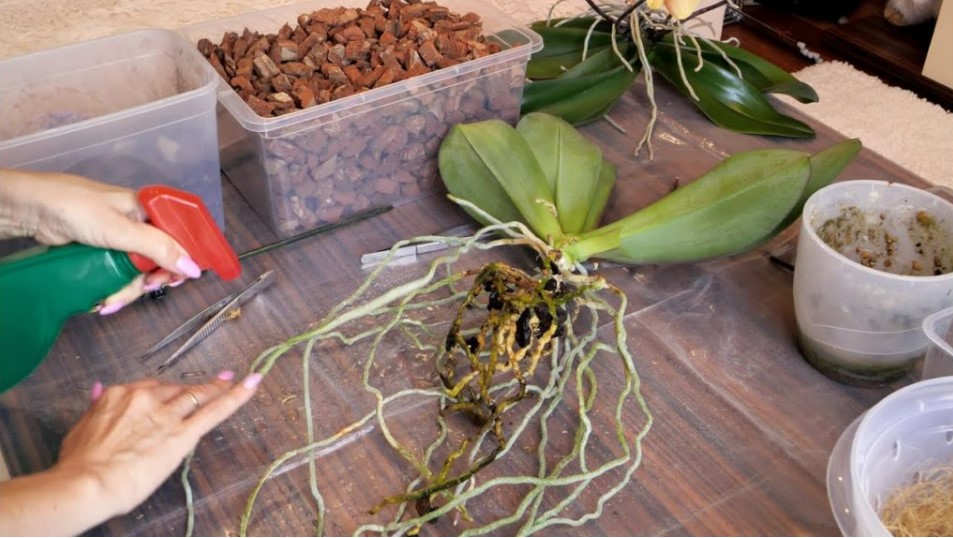
You need to work carefully so that the root system, which is already weakened, does not completely deteriorate. Remove contaminated soil afterward. The orchid must be placed on a clean surface.
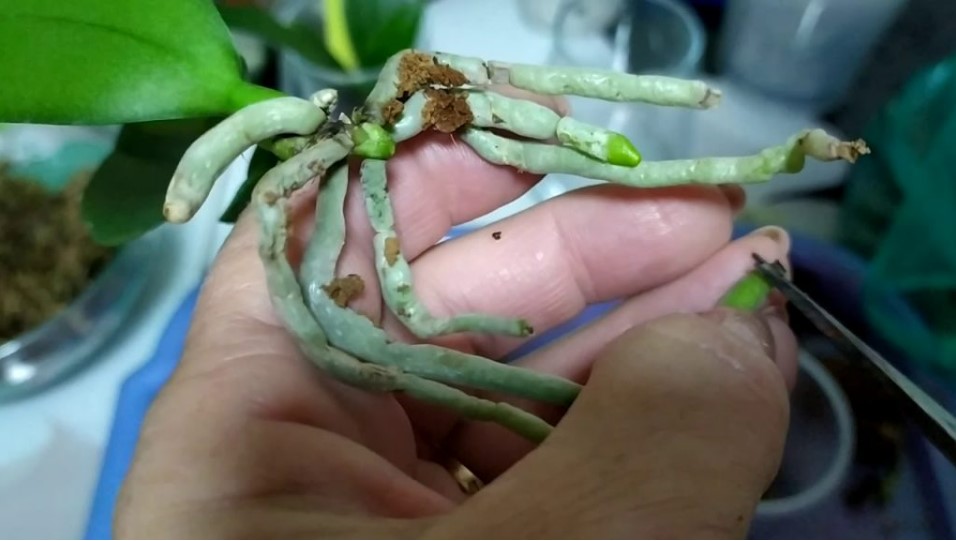
Trim blackened and soft roots
For further work, you will need a sharp tool. The best option would be scissors. They must be carefully treated with antiseptics. It is possible to use different means that can only be found.
Namely:
- Household disinfectants. This one can be dishwashing detergent or Lysol.
- Medical alcohol.
- Bleach.
You can dip the tool in boiling water and hold it there for 2-5 minutes. This is enough for all bacteria and microbes to be destroyed.

Many orchid owners are wondering: “Should I cut rotten orchid roots?”. This is a mandatory procedure if you want to save a flower. First, you need to determine which of the roots need to be removed. Only black or soft areas need to be cut.
The rotten roots should be thrown away with the old soil. In the future, it can not be used for planting flowers. You can read the information how to trim orchid roots correctly.
How to prevent root rot with fungicide treatment
To increase the orchid’s chances of recovery, the roots that remain after pruning must be treated with fungicides.
It is recommended to use organic liquid substances as they are effective and safe for plants. They will destroy bacteria and fungal infection to avoid their spread to new containers.
Lay the plant out to dry
It is necessary to take a large sheet of newspaper or paper and cover the table with it. Place an orchid bush on top. Additionally, the roots should be blotted with a paper towel. This will remove any remaining moisture. The root system must dry well.
Wait at least an hour and better 12-20 hours. This is enough for all unnecessary moisture to evaporate.
Pot selection and disinfection for remaining roots
If there is no new pot in the house, and it is impossible to buy it now, you can use the old container. First, it should be cleaned with dishwashing detergent or alcohol. Plant transplantation is only possible if you clean pots.
Particular attention should be paid to the choice of container size. The container should be comfortable and large. The optimal size is 4-6 inches. This is enough for growing adult bushes.
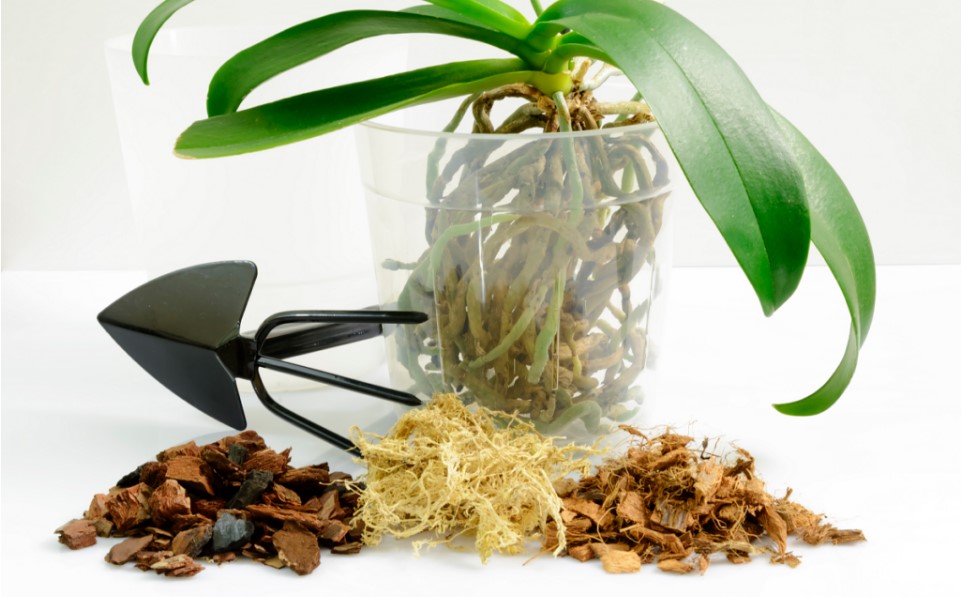
Transplanting plants into a porous soil mixture
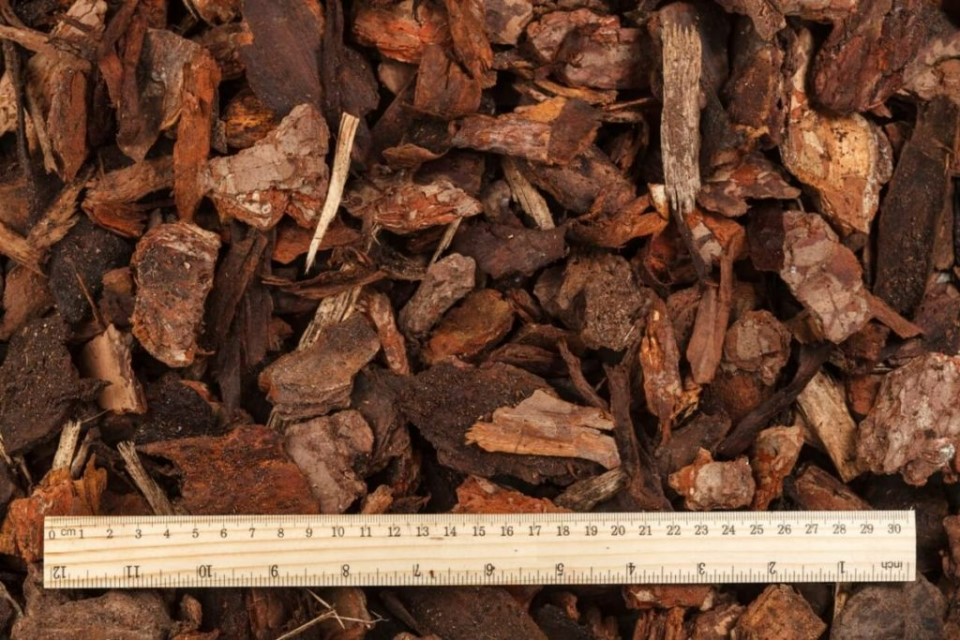
The container that has passed the cleaning stage must be filled with a porous mixture. It must pass moisture well. Water must flow down well to prevent re-infestation. Orchids prefer light and firm soil.
It is best to buy ready-made mixtures that are sold in stores. Buy them only if the packaging is marked “for orchids.” They do not contain harmful impurities.
You can stop at the option “Special Orchid Mix” from the company Sun Bulb. The mixture in question is created from spruce bark, charcoal from the tree, and perlite. A fairly large percentage of people trust this proven blend.
Read also: Healthy orchid roots
You only need to fill the container by a third. Sprinkle additional mixture on the sides. Make a small hole and plant an orchid in it. Sprinkle the flower with planting mix.
Fill the container gradually. Once it is full, tamp the surface a little. However, this should not be done strongly so that air circulation is possible.
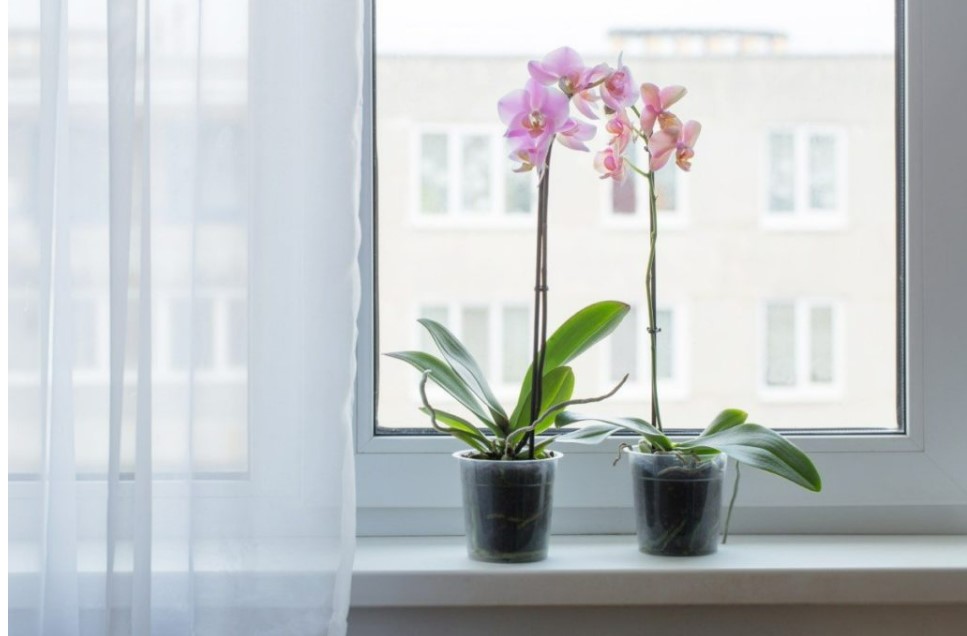
Lighting and watering schedule
Most orchids prefer to grow in well-lit areas. However, too much light should not be allowed, as burns may form on the leaves. It is recommended to place containers on the north or east windows without bright direct sunlight.
Too much sunlight seeps in from the south side. At noon, it can completely burn the plant. It is appropriate to place an orchid on window sills with frosted glazing, or under the ceiling.
This will protect the plants from burns. Additionally, you can install lamps that will illuminate the flower at night.
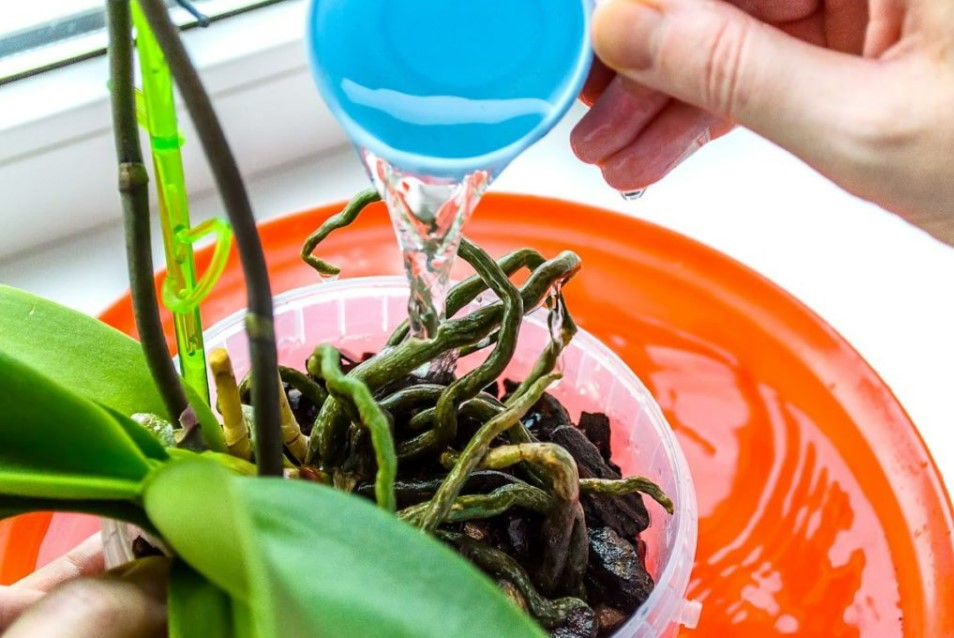
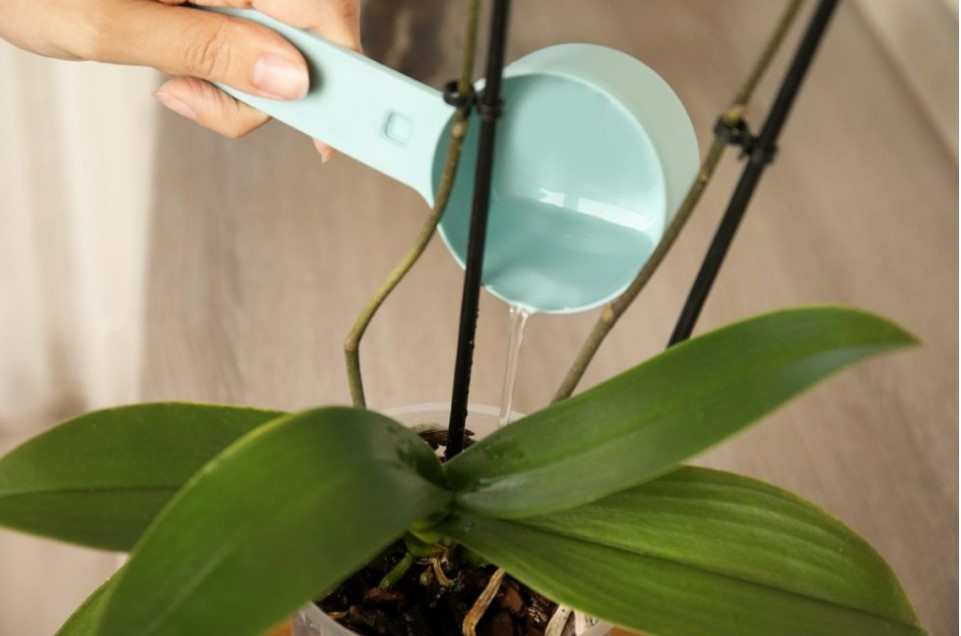
Particular attention should be paid to the quality of irrigation. This is the only way to prevent root rot. Orchids prefer large amounts of water.
They like it when the soil is well moistened and water flows out of the drainage provided at the bottom of the container.
Watering is recommended at intervals of 10 days. If active plant growth begins, it is better to reduce the interval to one week. You may be very nervous. After all, strong soaking can cause re-infection with root rot.
It should be noted that fresh soil, with good drainage, will prevent such problems. However, it is better not to risk, and not change the watering intervals. You can also read more about house plants and their care.
How long does it take to revive an orchid?
After completing all the rescue work, the sick orchid will not immediately begin to recover. Growing orchids can return to normal life in a month, and sometimes it takes about a year.
When revived in the spring or autumn months, the chances of his salvation are much greater than in winter. In the cold season, the plant is already in a state of stress, and it is better not to disturb it.

When the appearance of the orchid improves, the leaves turn green again and new roots appear, it is better to stop feeding. Its roots usually develop quite quickly. Watering after the resuscitation of the flower should be slightly reduced so that the soil has time to dry out.
Conclusion
As you can see, orchid root rot is not a sentence. If you follow all the requirements described in this article, the plant can be restored, and it will continue to delight you with flowering.
Read also:
- Epidendrum orchid
- What are the best pots for orchids?
- How to grow orchids in water
- Epidendrum orchid leaves
Should I cut rotting orchid roots?
Yes, cut off any rotting orchid roots and let the cut areas dry before repotting the plant in a well-draining potting mix. This will help prevent further root rot and allow healthy roots to regrow.
Why do orchid roots rot?
Orchid roots may rot due to over watering, poor drainage, high humidity, or a lack of air circulation. The roots may also rot if the plant is left in a potting mix that is too moist for too long.
How do you cut rotted orchid roots?
To cut rotted orchid roots, gently remove the plant from its pot and examine the roots for any signs of rot, such as yellow or brown discoloration, mushiness, or a foul odor. Use clean, sharp scissors to cut away any rotted roots, leaving only healthy white roots. Let the cut areas dry before repotting the plant in a well-draining potting mix.