
Have you noticed that your orchid shows any signs of stress? Does it look sick and dying? Don’t panic! We are here to tell you how to bounce your orchids back to life!

What can make an orchid die?
If your orchids are dying, there can be several reasons to cause it. If you want to save your orchids, you must know the reasons exactly to deal with them properly.
Now, let’s look in detail what are the most common reasons that can kill your orchids.
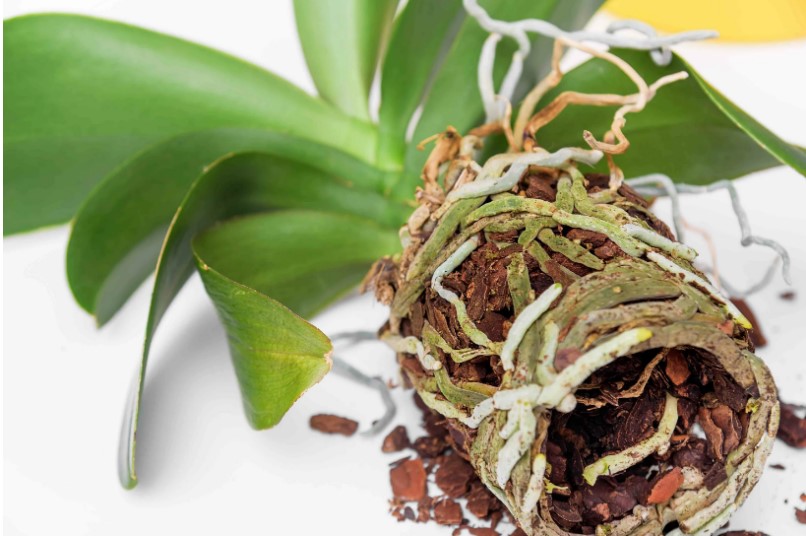
Root rot
The most common case is when an orchid dies because of root rot.
It is mostly caused by overwatering when you leave your orchid in standing water. As a result, you can end up with wet growing medium and rotten roots. Long story short, it is a sure way to kill your plant.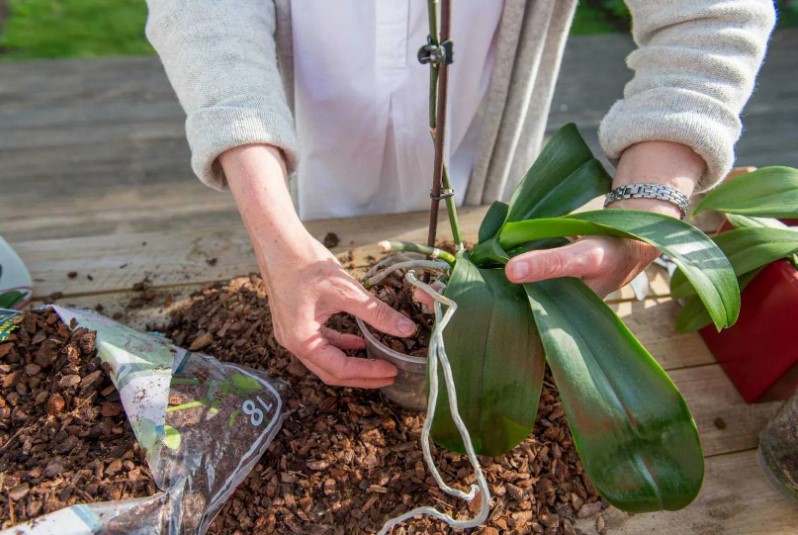
Since the rotten roots are dying and falling off, so the orchid will finally, die.
One more reason for the root rot is decomposing the potting medium. When it turns acidic, it starts damaging the roots. If the potting medium is too compact, it cuts off the oxygen supply and suffocates the roots.
Diagnostic tips
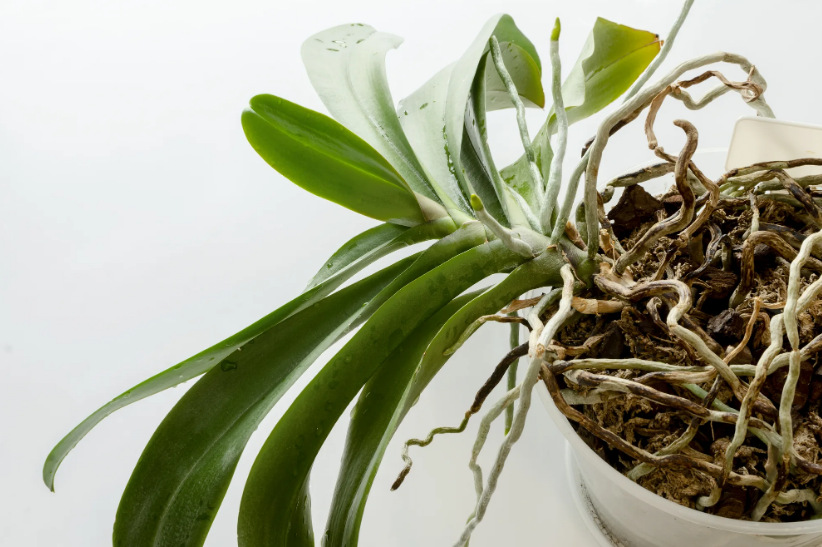
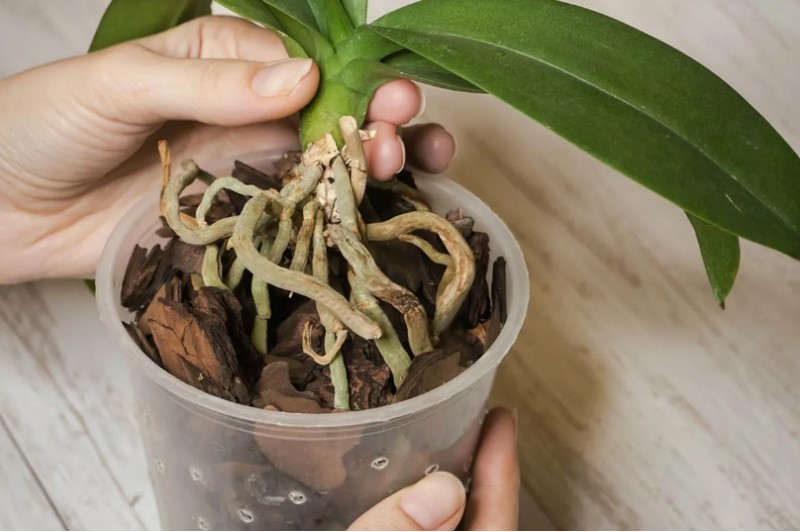
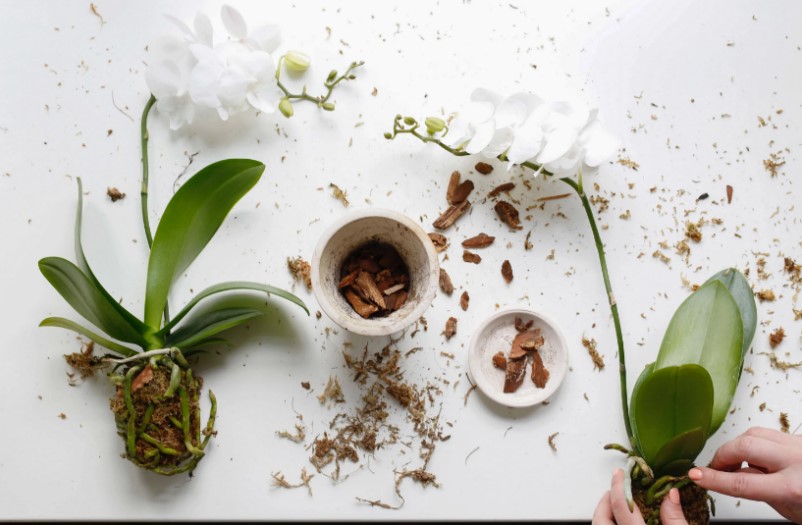
To diagnose root rot, pull the orchid out of the pot. Remove the potting medium carefully to inspect the roots. The signs of rot are mushy structure and dark color.
Treatment steps
- To treat an orchid dying of root rot, get rid of all the roots that are already rotten. The dead weight just makes your plant sick, so it doesn’t need these roots. Trim them off with a help of sterilized scissors or pruners.
- Then, spray the remaining roots with Hydrogen peroxide 3%. It will help you to disinfect the root zone and don’t let the rot spread further again.
- Now, repot your orchid in the fresh growing medium.
Preventive measures
- To avoid root rot, never over-water your orchid. If you don’t want the rot issue to happen again, let the orchid dry well between watering sessions. However, be careful not to over-dry it. Look for the right watering tips for your orchid, as some orchids prefer different ways of watering.
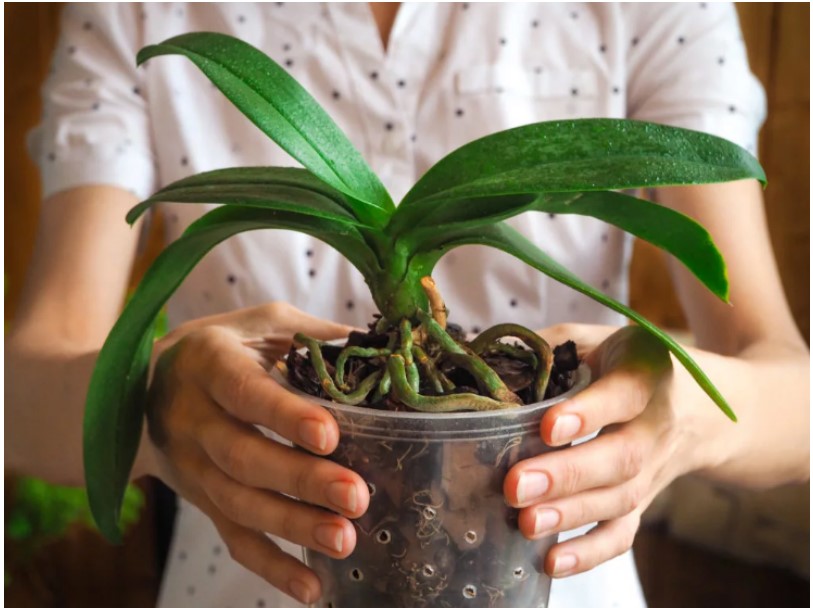
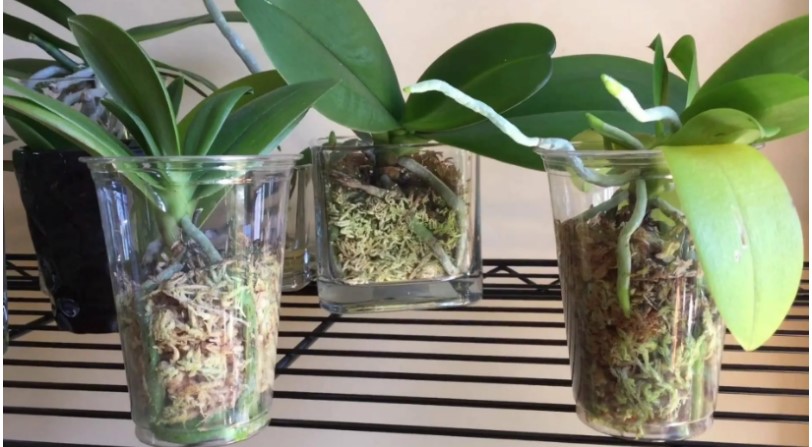
- Place your orchid in the new orchid pot that has a lot of drainage holes. So, you can be sure that any excess water can drain through the holes. In addition, your orchid’s roots will have more access to air and sunlight.
- Keep an eye on the growing medium. Don’t let it stay soaked in water for too long, since the excess moisture is always a great risk of rot developing in the root zone.
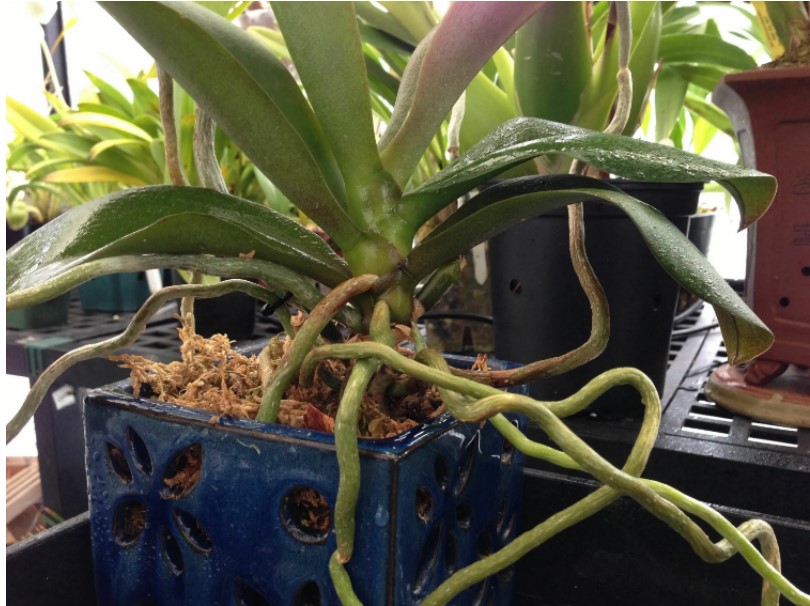
- You can also leave some aerial roots alone and let them grow out of the potting medium. This will help your orchid breathe more and save these roots from excess moisture exposure. In open spaces, aerial roots can grow upwards, and the plant feels good.
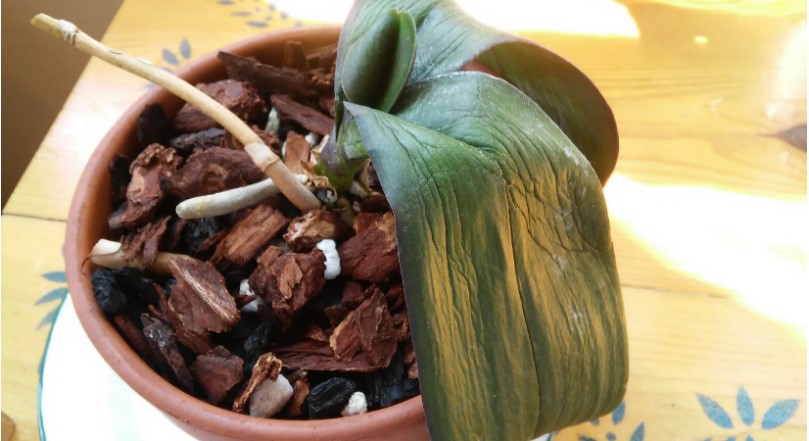
Crown rot
Crown rot is a less common but more severe orchid disease. Since it can kill the crown, this issue is even more dangerous than rotten orchid roots.
Why the orchid crown is rotting? It mostly happens because of the wrong watering. If some water is trapped inside the crown, that can lead to rotting. So, if you don’t remove the trapped water immediately, it will damage your plant over time.
Crown rot is considered to be a houseplant disease. In the wild, orchids grow in the air. As they grow upside down, or sideways, there is no risk for a crown to collect and keep staying water. Thus, in nature, this issue isn’t possible to occur.
As houseplants, the common way of growing orchids is upright, exposing the crown – unless you are hanging orchids on the walls. So, when any water gets inside the crown because of careless watering, it is a short way to rot.
Diagnostic tips
Inspect the orchid crown carefully. If the crown has turned black, it is the typical sign of rot. Some of the leaves can turn yellow, and some others might be falling off.
Read also: Healthy orchid roots
Treatment steps
To revive orchids with a rotten crown, the chances aren’t the highest. However, don’t give up and try to do your best.
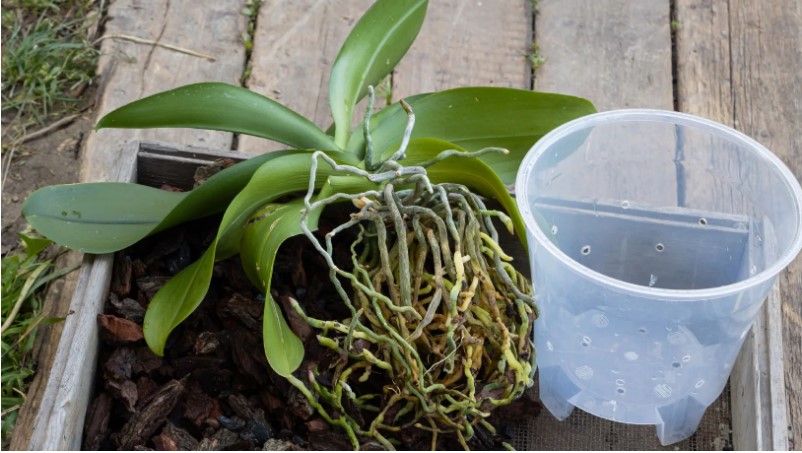
- Take the affected orchid out of the pot. Then, remove all the old potting media.
- Get rid of mushy or dead roots. Remove the yellow leaves.
- Now, spray the whole orchid with Hydrogen peroxide 3%. Let it sit and air-dry for a while, then wipe the excess moisture off.
- Repot your orchid into a new clean pot filled with fresh potting medium.
- As a final step, cover a crown with some ground cinnamon. It will help you to kill the fungal infection and limits it from spreading.
Preventive measures
- Be careful and don’t pot the plant orchids too deep! It can help you to keep the crown dry and safe. Too deep potting is always a high risk to make the orchid rot again.
- Water the orchid carefully. Avoid water getting inside the crown. If this happens, fold a paper towel several times and place the corner inside the wet crown. Keep the paper towel as long as you need to absorb as much water as possible. If some water is still there, change the corner and repeat the procedure.
Dehydration
Dehydration is one more common problem that can make your orchids die. Mainly, it is caused by underwatering or too much sun exposure.
Although the potting medium needs some time to dry out before the next watering session, orchids are the plants that don’t like to be dry for too long. If you leave your orchid dehydrated for a few days in a row, it will be sick quickly.
As a rule, orchid media dries much faster during the summer months. However, watering needs can vary depending on the climate in your area, the type of potting medium you use, and the types of orchids you grow.
Generally speaking, it may be enough to water your orchid regularly every three weeks in the winter season, but the situation always changes in spring and summer time. As the temperature rises, you need to keep your orchid hydrated more often.
However, you may provide an orchid with enough moisture, but the watering method isn’t sufficient. So, you can be surprised to see the roots drying out slowly. What is more, you can bring a new orchid that has already started showing dehydration signs.
Diagnostic tips
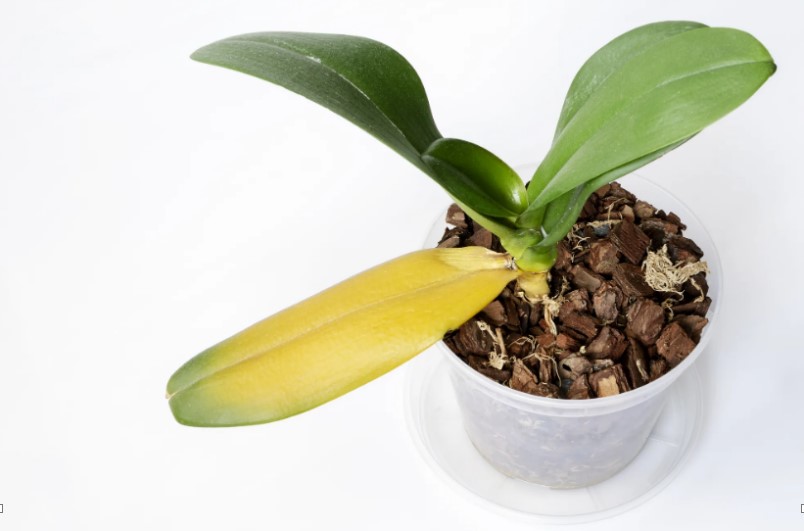
Inspect your orchid for signs of dehydration. If your orchid grows in a clear plastic pot, you are lucky to see the root zone well. The most common dehydration signs are:
- Wrinkly/floppy/yellow leaves
- Over-dry potting medium (bark or sphagnum moss)
- Dry roots
Treatment steps
To deal with a dehydrated orchid, follow the simple tips below:
- Take the struggling orchid out of the pot.
- Remove the old potting medium remains from the roots.
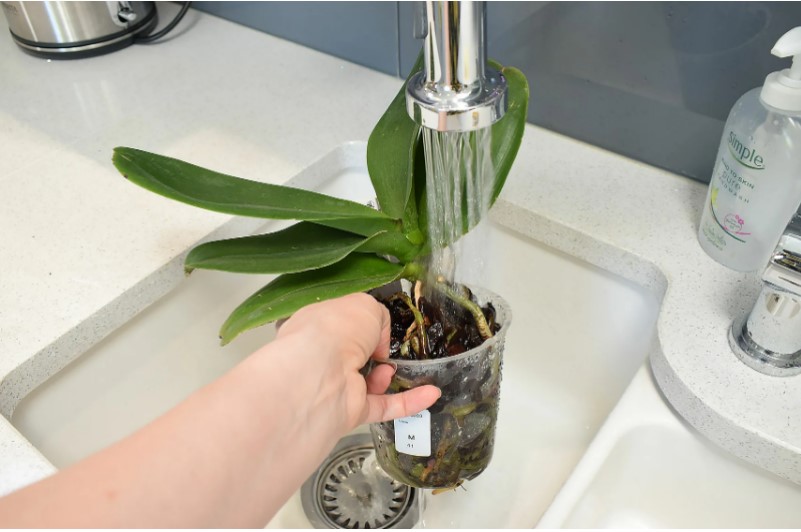
- Soak the root zone in lukewarm water or rinse them under a running tap. Don’t get the plant itself to soak!
- Inspect the moistening roots. Now you can see which roots are healthy or still alive, and which are already dead.
- Cut off all the dead roots with sterilized scissors or pruners.
- Spray the healthy roots with Hydrogen peroxide 3% and let them air-dry for a while.
- Repot your orchid in the fresh media and water well.
Preventive measures
- Always make sure that your orchid is hydrated enough. Follow the watering tips for your species of orchids.
- Don’t keep your orchids under the direct sun rays. Most tropical orchids need indirect sunlight that they thrive in when growing in wild.
Sunburn, stresses, and bacterial infection
Along with these main reasons for the orchids to die, there are some more risks as well.
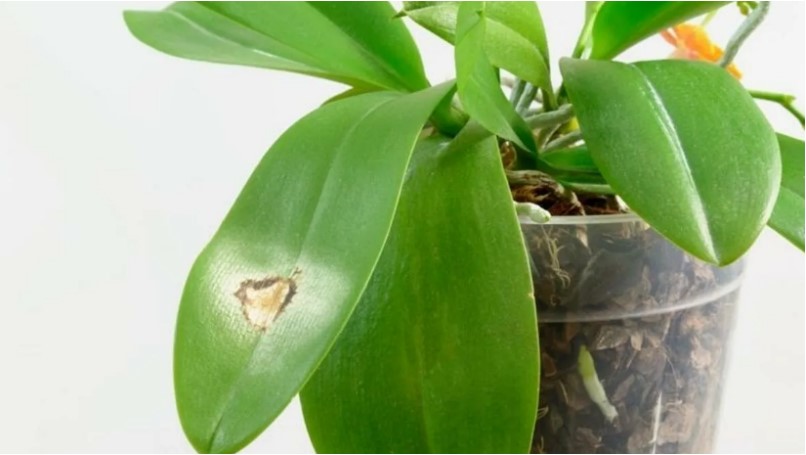
Sunburn
- If you keep your orchids in the full sun, there is a high risk of sunburn. When it happens, the orchid leaves are getting yellow, brown, and scorched. Finally, they will fall off.
- Too much light can kill your orchid. Generally, orchids need bright, indirect sun, as it is similar to their natural conditions. Diffuse the excess sunlight with a curtain if you can replace the orchid pots from the sunny spot.
Stress factors
- There are many ways to stress the growing plants. The most common is too hot or cold temperatures and low or excess humidity. Keep your orchid in optimal condition to prevent these issues.
- One more stress factor is adding too much fertilizer and burning the roots. What is more, you can’t use an ordinary fertilizer, as it is too strong for the orchids.
- The wrong fertilizing makes orchid leaves floppy and yellow. It is a direct way to stop the plant from blooming as well.
- Opt for a special orchid fertilizer. Proper nutrition is crucial for a healthy orchid.
Infection diseases
- Sometimes, sick orchid roots and leaves are caused by fungal or bacterial infections. This can also lead to stem rot, which is the most vulnerable part of the plant.
- To save your orchid, remove all the leaves with spreading bacterial infection. Cut off the old flower spikes as well right down to the orchid stem.
- Then, disinfect the whole plant and change the potting soil to remove the breeding ground for bacteria or fungi.
FAQ
What does a dying orchid look like?
Unfortunately, no type of orchid is immune from diseases and stress impacts. Even such common species as Phalaenopsis can be quite tricky to deal with. If you are new to the world of orchids, you can be really afraid to see the changes in your plants.
Sometimes people confuse a dying orchid with a dormant one. This is a common mistake for first-time orchid owners.
After the bloom season is over, most orchid species become dormant. You can notice that orchid flowers start fading and falling off. But don’t panic, as it is just a part of an orchid plant’s growing cycle when it is in the resting phase.
So, if you can see that your flower spikes are dying, it doesn’t mean that your orchid is in danger. Even if your orchid’s flowers fall off, and the stems are partly brown, all these are the signs of a dormant state. Most orchids need about six months of the dormant state before reblooming again.
To understand if your orchid is dying, follow these diagnostic steps.
Step 1: Check what parts of the orchid are damaged
If your orchid has some leaves and a few roots, you are quite lucky. It means the plant can bounce back with some time. Just be patient and persistent, and finally, you will get a good result.
However, if you have an orchid without leaves, it is most likely dead. Without leaves, an orchid plant can’t make food for staying alive.
Step 2: Explore the crown and root system
Check the orchid roots thoroughly. The most common reason for the dying orchid is overwatering. If the excess moisture stays constantly in the root zone, it causes root rot. As soon as the roots are fully dead, the orchid can’t stay hydrated at all and finally dies out.
To prevent root rot, don’t let the excess water stay in the orchid potting mix.
The next reason for the dying orchids is crown rot. The orchid crown is a point where the leaves join the plant. Never let the excess water sit in this place! The crown rot will kill the orchid leaves, and proceed with stem rot. As a result, it can cause the orchid’s death.
If you notice some water inside the orchid crown, gently wipe it with a paper towel to remove the moisture.
One more reason that can kill your orchid is dehydration. If you detect dry roots, the best idea is to soak them in water immediately or rinse them under lukewarm tap water.
Proper moistening will help you see which roots are still alive and can bounce your plant back. Remove the roots that are completely dry and dead.
Do orchids come back to life after dying?
The good news is that you can do it! In most cases, you can save a dying orchid if you act immediately. All that you need is a lot of patience and some proper care.
Depending on your specific issues, an orchid can require the following steps to bounce back:
- Re-pot your orchid
- Trim off all the dead and unhealthy roots
- Cut out the infected leaves
- Relocate the orchid
- Stimulate the root growth
- Disinfect the plant
- Provide the orchid with enough watering
- Use clear plastic pots to see and control the root zone
- Avoid direct sunlight
Can you revive a completely dead orchid?
The bad news is that if your orchid is too damaged and has almost no chance to revive, you are most likely helpless in this case. However, even small changes can work if you treat your orchid plant successfully.
Never give up if there are some chances to save your plant! Try all the smart tips that are compatible with your specific case.
Don’t use regular potting soil for orchids. Unlike other plants, they need another type of potting mix to survive.
Sometimes it is enough to replant your orchid in a new pot filled with fresh potting medium. The proper nutrient boost can revive your orchid in some time.
If you need to that your orchid will rebloom again, mix 2 parts of orchid-formulated bark with 1 part peat moss. Then, fill the space around the roots with this medium, and apply a thin layer on top. However, don’t cover the leaves, and avoid potting your orchid too deep inside the medium.
Keep an eye on the orchid parts. Be attentive to any changes in the orchid leaves, air roots, or flower stems. If they turn yellow, wrinkled, scorched, or mushy, act immediately. However, remember the difference between the sick plant and the dormant one.
Inspect the orchid leaves to understand what they need exactly. A healthy plant has olive-green or deep-green leaves with no wrinkles. If the orchid leaves look dark green, the plant needs more sunlight. Scorched and wrinkled yellow leaves are the signs of diseased roots, sunburn, or dehydration.
Moisten your diseased orchid. Provide it with enough watering, but avoid too much moisture. The best idea is to moisten the soil and keep the moss hydrated. Depending on the humid environment in your home, provide your orchids with optimal conditions.
Use a root booster to provide new roots. In addition, it is a big help for your orchid to lessen the transplant shock.
Final thoughts
There are always several ways to save an orchid that is dying. Always try to do your best to bounce your plant back to life, and one day you will see a gorgeous orchid covered with beautiful flowers.
For having happy and healthy plants, maintain them properly and be attentive to any signs of diseases. Read about white spots on orchid leaves
Read also:
Good luck!