
Seeds are one of the most popular methods for propagating orchid species. RLet’s read more about growing orchids from seeds in this article.
Growing orchids from seeds: all methods
The process of seed germination occurs in different ways. You can find the information about growing orchids from seeds below.
Symbiotic
This orchid seed germination mimics the natural germination environment a bit. Orchid seeds fall into the ground and are affected by fungi. Fungi can decompose seeds until they are destroyed. Another situation is also possible: the seeds feed on the nutritional components of the fungus. Seeds may die due to lack of nutrition.
However, it happens that the seeds decompose, which is why an orchid appears. Symbiotic germination of orchid seeds is carried out in the laboratory. The procedure is quite complicated, so another option would be preferable for the house.
Azimbiotic
This germination option consists of using a tube and agar. The last component is a mixture that is in the form of a jelly. It consists of nutrients and growth hormones. You can propagate orchids from seeds at home. It’s simple, fast and cheap.
What will you need?
First, you need to prepare everything you need for work:
- orchid pods with seeds that are not yet ripe;
- water: it is better to buy it at shop;
- a deep plate, such as a saucepan;
- latex gloves;
- medical alcohol;
- bleach for sterilization;
- sterile environment in the form of a glove compartment;
- sharp knife;
- a clean glass where orchid seeds will be sown;
- foil for sterilizing the edges;
- 10 inch tweezers;
- new syringes;
- pipette;
- starting and maintenance agar medium;
- fertilizer for orchids.
Creating ideal conditions for orchid seedlings
A lot of people are wondering how long it takes to grow orchids from seeds? The process is quite lengthy and requires effort. First, acceptable conditions are created for the flower:
- temperature range 50°F to 86°F;
- lighting. It must be filtered, and in sufficient quantity;
- water. It is advisable to use distilled or rain;
- humidity. When choosing indicators, keep in mind that orchids prefer tropical climates;
- fertilizer. It is necessary to apply in a certain amount, since exceeding the norm will kill orchid seeds;
- air circulation. Avoid strong winds and drafts.
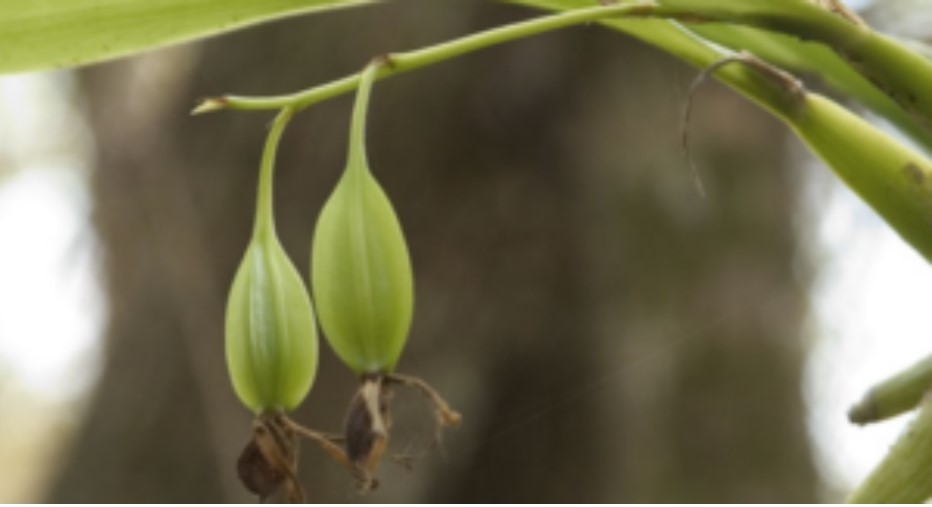
How to get seeds from an orchid seed pod
Orchid seeds are small in size and weigh 500,000 times less than an aspirin tablet. Each pod contains 1-3 million plant seeds. Seeds can be dispersed over long distances by winds. Due to their small weight and size, finding seeds is quite difficult. Clean seeds are stored in small test tubes, the volume of which is 0.1 ounce.

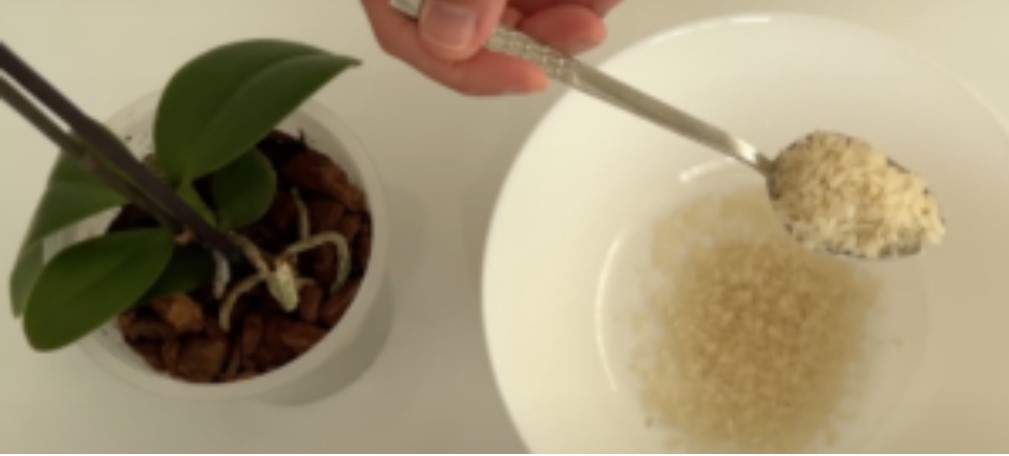
It must be placed in a dry and cool place where sunlight does not penetrate. A refrigerator would not be the best option because condensate will accumulate inside the test tube, provoking mold.
The longer the seeds are stored, the better they will germinate. To keep the seeds in a dry state, a test tube should be dug into a jar filled with rice groats. It must first be dried in the oven.
How to collect seeds?
The collection of seeds is carried out according to the following principle:
- Boxes with seeds should be placed in a clean container.
- Add some antiseptic, and shake a little. Leave for a quarter of an hour.
- Remove the orchid seed capsules with tweezers and place them on a paper towel.
- Treat the tweezers and scalpel with an antiseptic. It is better to sterilize them all together for work with seed capsules.
- Cut open the orchid seed capsule and take out the inside of the seeds.

Preparation of the agar medium
Properly selected orchid agar ensures good germination. It should include the following components:
- calcium nitrate;
- monopotassium dihydro phosphate;
- magnesium sulfate;
- sulfate of manganese, and on, ammonium;
- sucrose;
- agar.
A few nuances
You can buy a ready-made set online from one of the retail giants. It includes a medium in which orchid seeds can be germinated, combined with activated charcoal and agar. This option will be appropriate if you do not want to prepare the mixture yourself. If the agar is kept at room temperature, its pH will stay in the range of 4.8-5.2.
To prepare a nutrient medium from agar, you will need the powder of the same name and hot water. Boil 100 ml (3.4 oz) of water and mix with 25 g (0.8 oz) of powder. Stir constantly, and add another 3.4 oz of water once the agar has dissolved.
Creating a sterile environment
To prevent the birth of fungi and bacteria, you need to sterilize the mixture. All tools for work should be placed in the oven for 10 minutes and set to 356 °F. Allow the flasks to cool before closing the lids. You need to work in a clean room that is regularly ventilated. All surfaces must be treated with bleach.
An excellent solution for creating a sterile environment is the use of a glove box. However, it is quite difficult to achieve sterility, which happens only in laboratories. At the same time, you need to try to kill as many bacteria as possible.
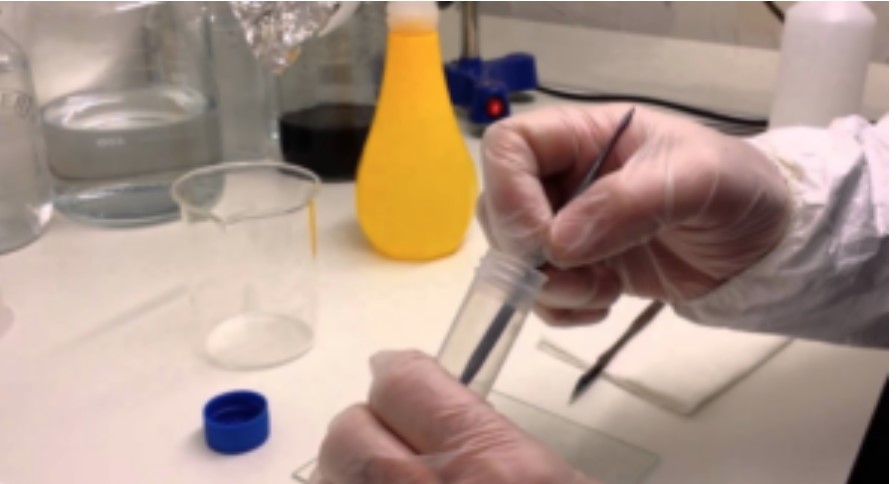
Sowing orchid seeds
A fairly common question is, how do you grow orchids seeds at home? It should be noted that the process requires certain efforts and skills. Place all tools and orchid seeds in the glove box. Start the sprayer, into which you need to pour a little bleach in advance.
If there are filters and fans inside the box, it is better to run them. Put on gloves, and treat the inside of the box with an antiseptic. Wash your hands, gloves, and forearms afterward with an antiseptic.
Wait a few minutes for the product to take effect. Then soak the dropper in hydrogen peroxide and draw up 0.1 oz. Add it to the agar mixture you want to fill the flask with. After, it is better to close immediately. Treat ziplock bags with bleach. Choose transparent bags to expose the seeds to sunlight.
This will improve germination. Place the flask in a bag and mark the date. Don’t forget to specify the orchid variety. Leave the bag near a window to let the sunlight in. Clean up the work area so the bad and good seeds don’t mix.
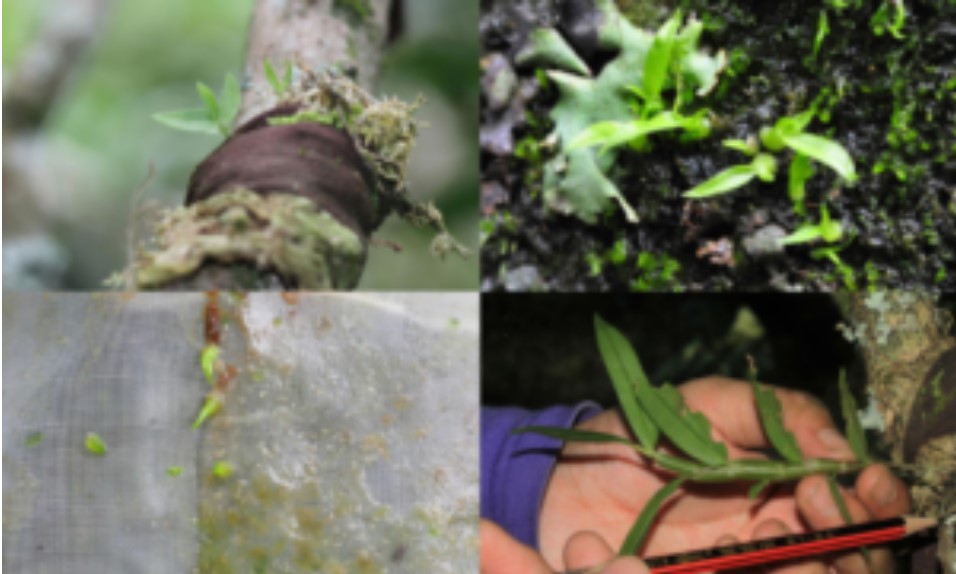
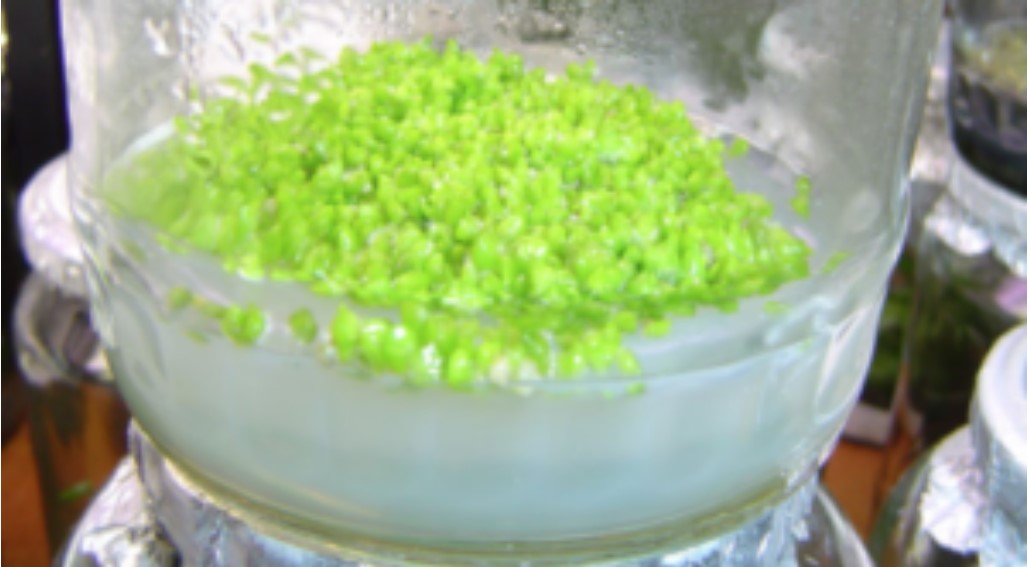
Germination process
Many are interested, is it hard to grow most cultivated orchids from seeds? If you stock up on tools, seeds, and patience, the procedure will not cause difficulties. When the embryo swells, the seeds will begin to germinate. The formation of chlorophyll is not excluded.
However, not all varieties can boast of this. The swelling continues until the germ penetrates the peel. Seedlings will turn out in the form of a ball or cone. The process is called the proceeding stage.
At the top of the seeds, signs of a leaf plate will appear in the form of a compact bulge. Hairs will be visible from below. After the orchid roots and leaves are formed.
How to care?
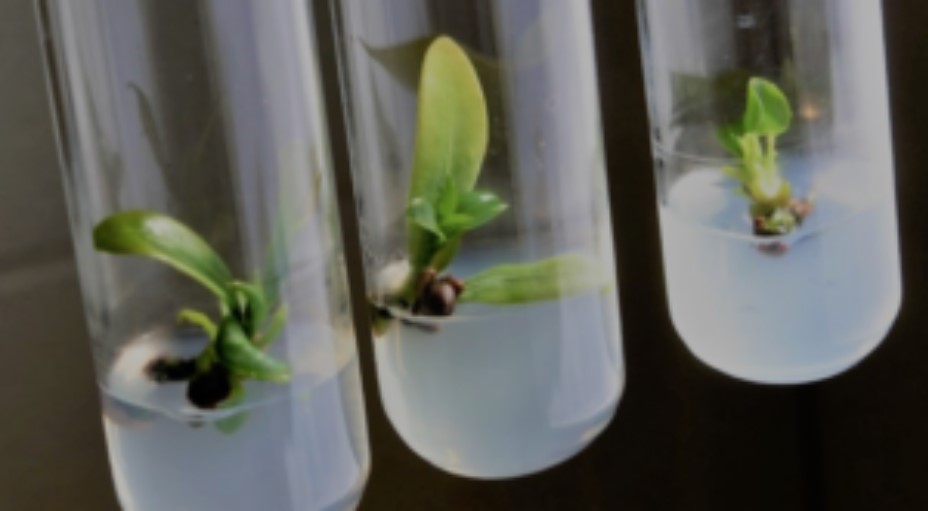
Germination of some varieties occurs within a few days. Others may take weeks or months. Do not touch the flasks, and constantly monitor the process. When the roots appear, you can start fertilizing.
Agar cracking is not excluded. In this case, a transplant of orchid seed into new flasks is required. Sterilization is carried out according to the same principle as when germinating seeds. Before opening the flask, wipe it with a cloth soaked in an antiseptic.
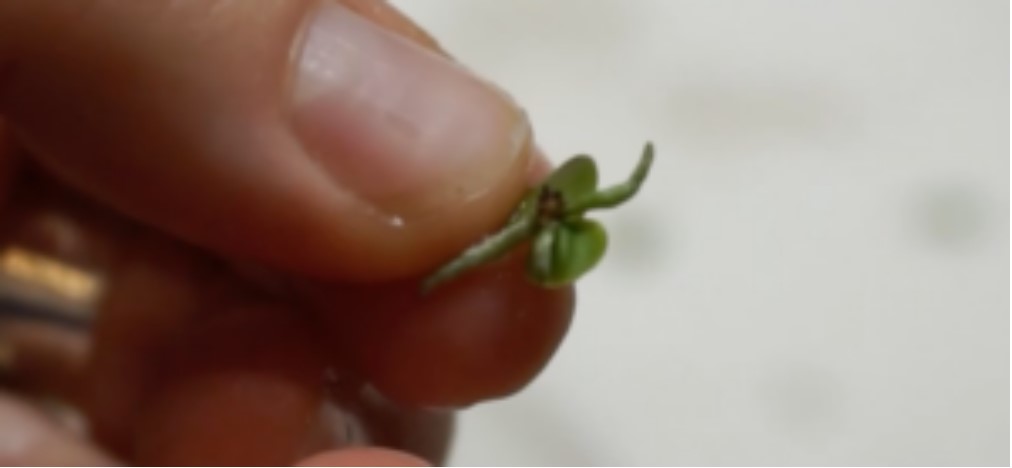
You can transplant the orchid after 4-8 weeks when the seedlings have reached the optimal size. The orchid seedlings are removed one by one from the starter agar flask and placed in a new container. It will need to be filled with supporting agar.
Unpacking seedlings
Over time, orchids need to be transplanted into classic pots. They will need to be filled with coarse fir bark or other similar materials. Transplantation is carried out when the roots become developed and the height of the plant is sufficient. Repotting of orchids is another kind of art you would need to learn properly.
The next step is to wash off the agar. In the end, the roots need to be rinsed a little in clean distilled water. This will remove the rest of the sweet mixture. Otherwise, the roots will be affected by bacteria and fungi.
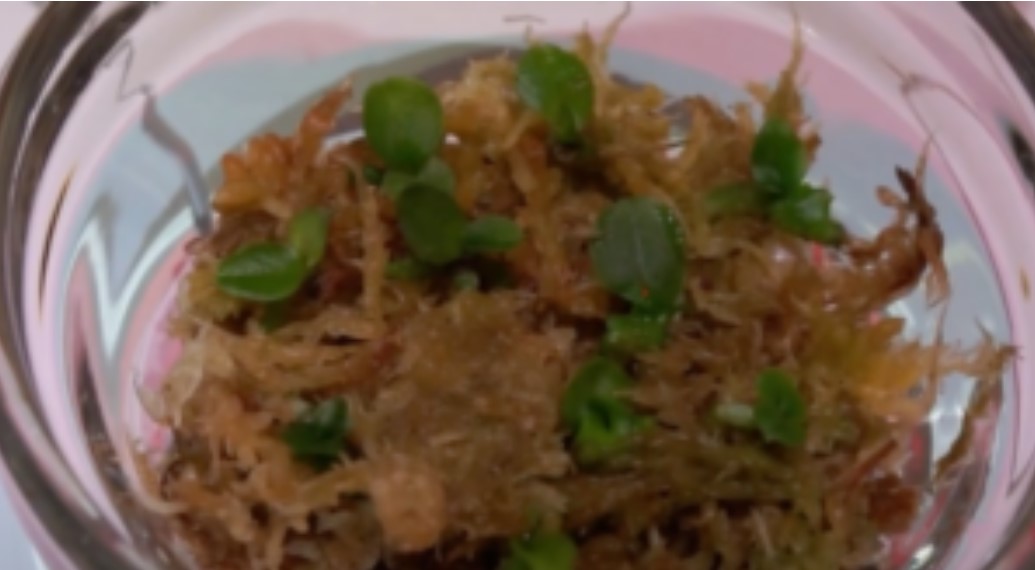
How to protect from drying out
To prevent the orchid from drying out, follow these tips:
- Place the seedlings in a plastic box.
- Add some sphagnum or paper. Spray some water on top.
- Place the box outside in the shade.
Growing in a pot
As soon as the plants grow up, they need to be opened and transplanted. First, the young orchids are watered. Pick up a clean pot that has numerous holes in the bottom. Fill the container with fir bark chunks. The optimal height is 2 inches. You can add some mahogany, horn flour, and dolomite limestone.

Heat water to 96 °F. Containers with flowers are dipped into it to make the agar softer. You need to wait 30-60 minutes. Remove the plant without damaging the root system. Rinse the root system of the orchid, and preferably the whole plant, in warm water. This will remove the remaining thickener.
Plant the plants so that they are about two inches apart. Put a few small stones on the tray, and put pots of flowers on them. Get the best drainage option. Thanks to this, the evaporation of water is excluded, and the humidity around the orchid increases.
Set up the tray of pots in a well-lit area. Spray the flower with water using a spray bottle. Carry out this procedure 2-4 times a day. After you can divide the bushes, and transplant them into pots. This should be done only when necessary.
Orchid seeds can be affected by various infections. Bacteria and fungi are ways to spoil the seeds, so if they are not handled properly, they will die altogether.
How to clean and save seeds of orchid plant
After buying seeds, they need to be cleaned. As already mentioned, orchid seeds are quite compact. It should be checked that there are no drafts in the room. You need to work only with sterilized instruments so as not to introduce bacteria. Seeds are recommended to be cleaned with 3% hydrogen peroxide.

Add the substance to small flasks, and close them. Shake a little and let it rest. After a few hours, under the influence of sunlight, the peroxide is converted into oxygen and water. These are ideal conditions for seed storage.
Conclusion
If you want to grow orchids from seeds, it requires a lot of effort. This is because the seed is compact and requires attention. You should also use a sterilized instrument to exclude the development of diseases.
After your try is successful you should keep caring about your plant. Did you know there were several ways of how to grow orchids, including the one in water? If you’re interested, learn more about how to grow orchids in water in another article.
Orchid flowers falling off: causes and what to do?
How long do orchids take to grow from seed?
Growing orchids from seed is a slow process and can take several years to complete. On average, it takes about 3 to 5 years for orchids to reach maturity and produce blooms from seed. However, the exact time it takes can vary depending on several factors, including the species of orchid, the growing conditions, and the quality of the seeds.
Is it hard to grow orchids from seeds?
Growing orchids from seeds can be challenging, as the process requires specialized equipment, such as a growth chamber or greenhouse, and a good understanding of orchid cultivation. Orchids have specific requirements for temperature, light, humidity, and nutrition that must be met in order to successfully grow from seed.
Is it better to grow orchids in water or soil?
Orchids can be grown in either water or soil, but the preferred method of growing depends on the species. Most orchids are epiphytes and grow best in a well-draining potting mix made specifically for orchids. However, some species of orchids, such as Paphiopedilums, grow best in pots filled with a mixture of moss and bark chips.
How often do I water orchid seeds?
Orchid seeds should be kept moist, not waterlogged. Water frequency varies depending on temperature, humidity, and type of growing medium, but usually involves misting daily or watering after the top inch of potting mix has dried.