
When it comes to orchid care, the roots are one of the most important parts of the plant. Orchids need healthy, hydrated roots in order to thrive.
Orchid roots dry shriveled are a sign of dehydration, which can be caused by many factors, including lack of water, not enough humidity around the plant, or incorrect watering practices. If you notice your orchid’s roots are looking dry and shriveled, the first thing to do is water it—but be sure not to overwater.
Orchids prefer less frequent but thorough waterings, so allow the soil to become almost completely dry before giving it another drink. You may also want to consider adding a humidifier to the room or investing in a pebble tray for your orchid’s pot.
Additionally, make sure you are using the right potting medium for your orchid and that it is well-draining. If any of its roots appear dead, trim them off so they don’t rot.
Dry Orchid Roots: What Does It Mean?
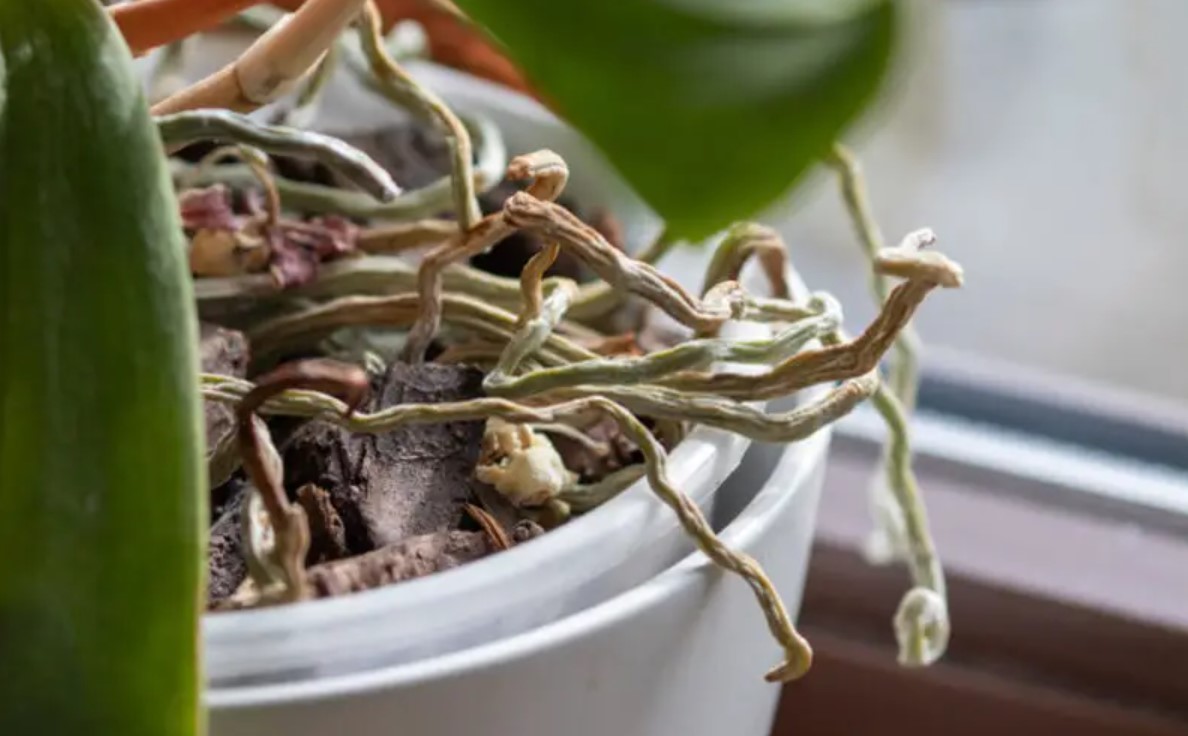
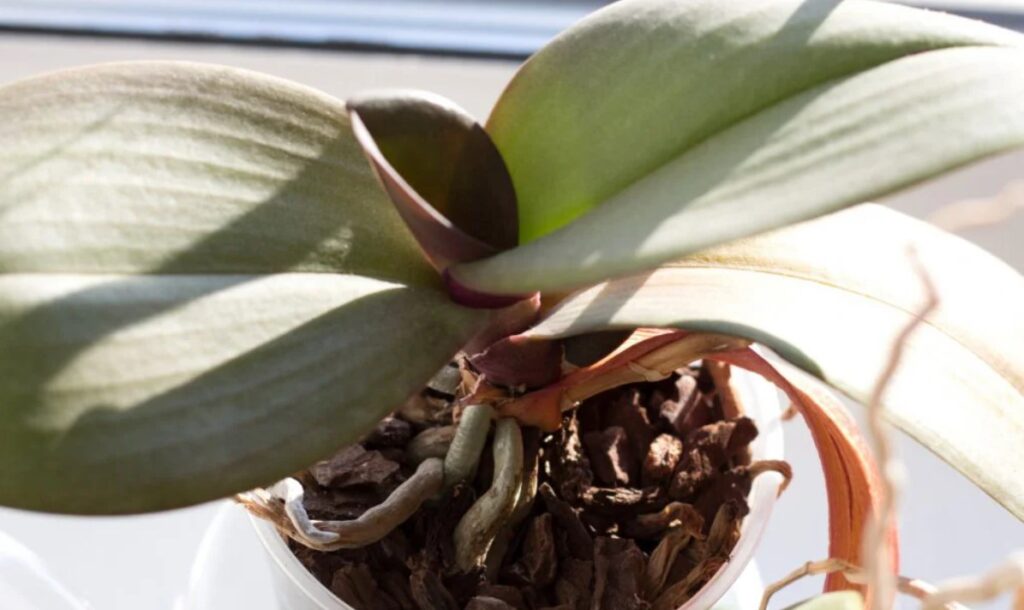
The signs of dry orchid roots are usually quite clear. When you check the roots for hydration, you will notice that the roots are shrunken, wrinkled and limp, as opposed to healthy orchid roots which should be firm and plump.
Dry orchid root also displays a yellowish hue rather than bright green or white coloration. Dry orchid roots will also feel brittle to the touch and may even snap when you squeeze them gently with your fingers.
If you have inspected your orchid’s roots and determined that they are indeed dry, it is important to act quickly in order to save your plant.
Dry orchid roots cannot absorb water as effectively as healthy and hydrated roots, so you need to find a way to rehydrate them as soon as possible. The best way to do this is by soaking the orchid in lukewarm water for 10-15 minutes. This will help the dry orchid roots absorb water again and restore their health.
Other Environment Factors
If you have tried all of the above and your remaining orchid roots are still dry and wrinkled, it is possible that they are not receiving enough light. Orchids need bright, indirect sunlight to thrive, so make sure your orchid is getting the right amount of light each day. You may want to place it near a bright window or invest in some grow lights if the natural light is not enough.
Just make sure to keep it away from direct sunlight, which can burn the leaves of your orchid. Additionally, you may need to adjust the temperature of its environment.
While orchids prefer temperatures between 65°F and 80°F (18-27°C) during the day, they should not be exposed to temperatures over 86°F (30°C). Too much heat can prevent an orchid from taking in water and nutrients. Lastly, watch for pests that may have taken up residence on your plant; these can cause dried-out roots as well.
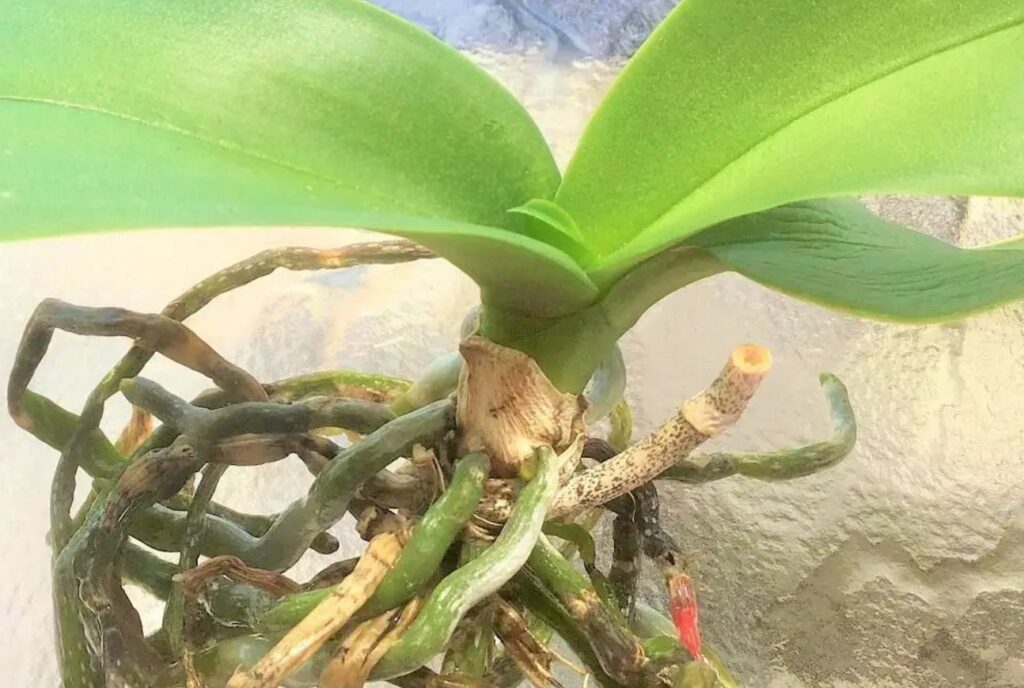
What About Aerial Roots?
When it comes to aerial roots, there are a few signs that can indicate how healthy your orchid is. One of the most common signs is if the aerial roots look dry. This doesn’t necessarily mean that the orchid needs more water; it may simply need more humidity in its environment.
Fortunately, there are a few ways to increase humidity for your orchid. The first is to mist the aerial roots with a spray bottle. You can also place a tray of rocks and water (also known as a humidity tray) under the pot or use a cool-mist humidifier in the same room as the orchid.
What To Do if Your Orchid’s Roots Are Dry or Shriveled
When your orchid’s roots are drying out or starting to shrivel, it is important to take appropriate measures to ensure its health. The best way to do this is by learning how to properly water your orchid. Start by checking the leaves of your plant; pleated leaves, limp leaves, wilted and wrinkled leaves, or yellow leaves can all be a sign of insufficient water.
If your orchid’s roots are starting to look dry and shriveled, take measures to rehydrate them immediately. The best way to do so is by giving the plant a thorough soaking with lukewarm water.
Alternatively, some growers recommend using an ice cube watering method, where one ice cube is placed on the soil of each orchid every day. This will slowly trickle water into the pot and help rehydrate the roots.
When your orchid’s roots are back to looking healthy and hydrated, you can adjust your plant-care routine to avoid dehydration in the future.
Soaking Your Orchid Roots
Watering your orchids can be done in several ways, and the soaking method is one of the most effective. Soaking is a process that allows the roots of your orchids to rehydrate, making sure they get enough moisture to stay healthy.
When using the soaking method, start by filling up a small basin or bucket with water. Make sure the orchid pot is placed inside so that the water reaches up to the rim of it. Leave it in the bucket for about five to ten minutes, giving time for your orchid roots and potting media to absorb all the moisture.
It’s important to note that if you have a Phalaenopsis orchid, you should avoid letting the water cover its leaves or come into contact with the crown.
Soaking your orchid roots is a great way to ensure they remain properly hydrated and healthy but it’s important to do so carefully. With an appropriate level of care and attention, this method can help keep your orchids blooming for.
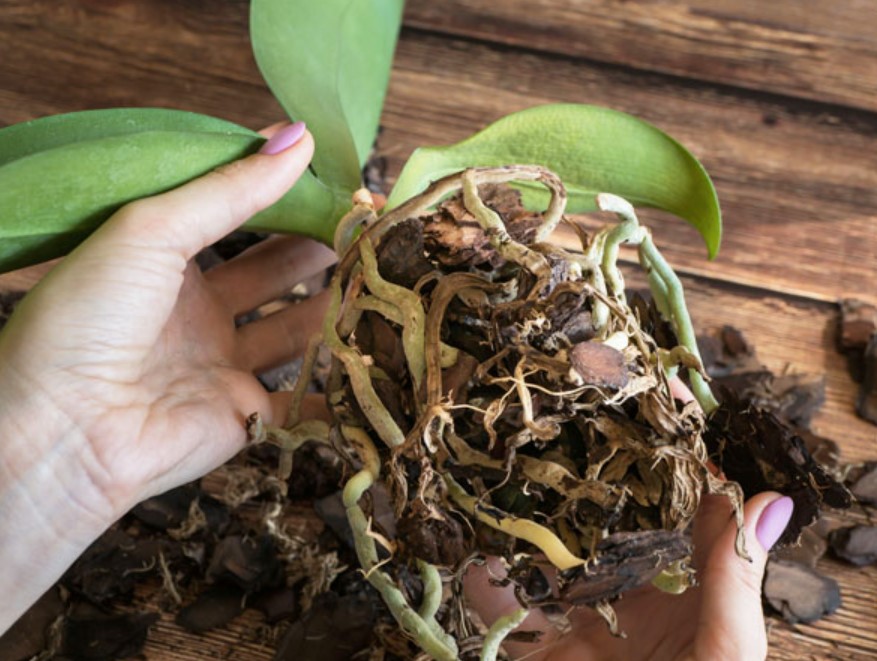
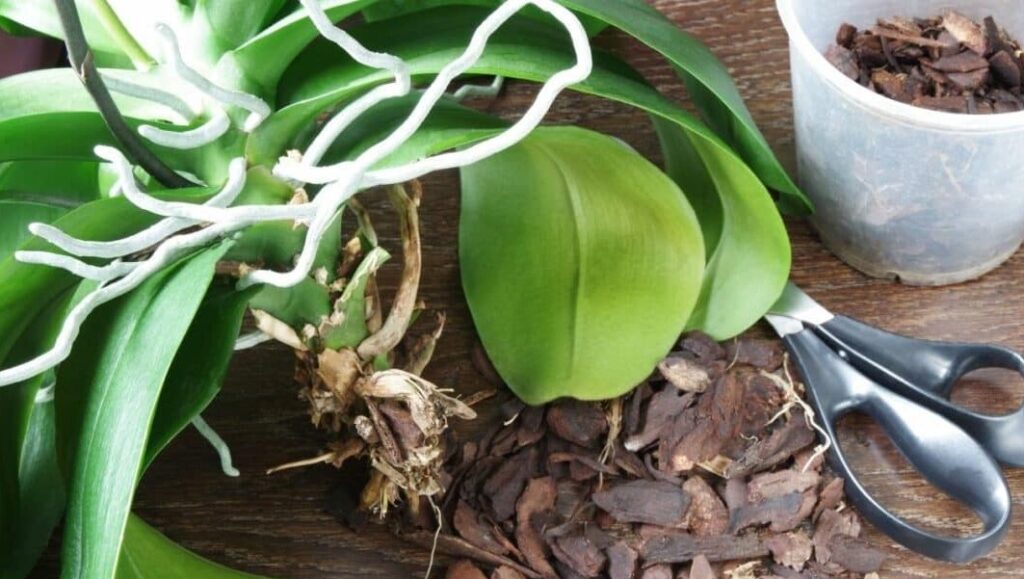
Should You Remove Dry and Shriveled Orchid Roots?
Many orchids require regular pruning of their roots to remain healthy and productive. Should you need to remove dried and shriveled orchid roots, it is important to do so with care. The best way to remove them is with a pair of sharp and clean pruning scissors. Make sure that your scissors are properly sterilized to prevent any damage or infection to the remaining roots.
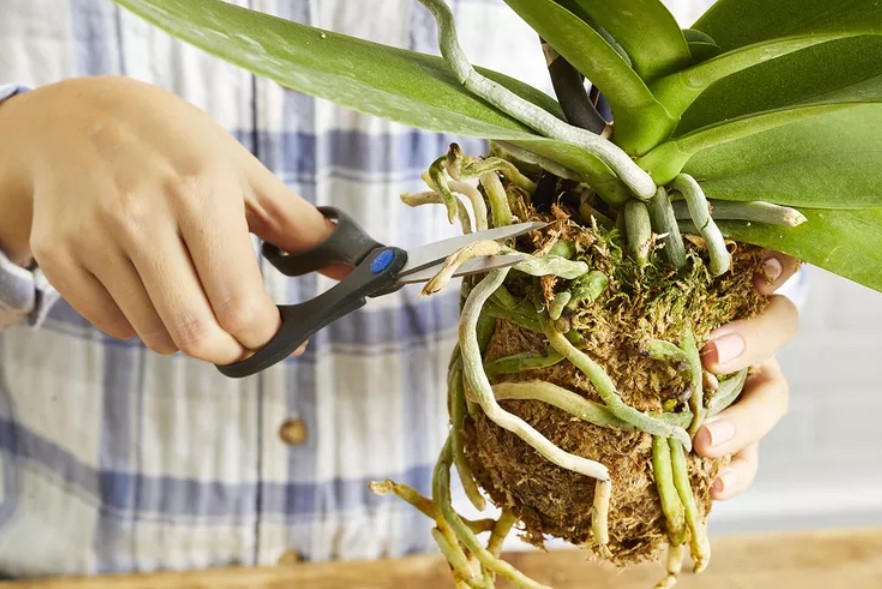
If you notice that your orchid has root rot, it is important to disinfect the remaining roots before repotting. You can do this by trimming off all of the rotted ones and then treating the roots with a fungicide such as Physan 20. Make sure to follow the directions on the package for proper dilution.
By taking care of your orchid’s roots, you can help ensure that it remains healthy and blooms beautifully. Should you need to remove any dry and shriveled orchid roots, be sure to do so with care.
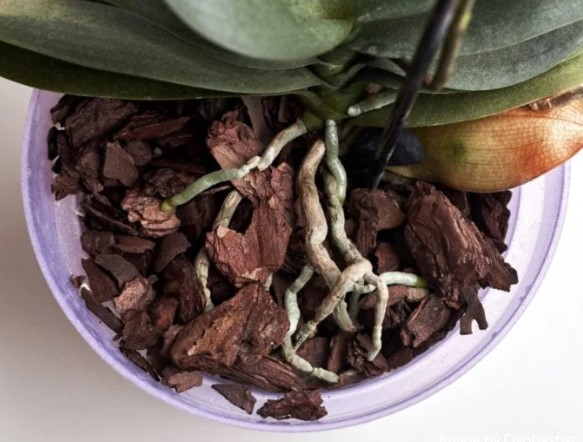
What if Your Orchid Is Left With Very Few Roots?
If you find yourself in the unfortunate situation of having your orchid left with very few healthy roots, all is not lost. A few simple steps can help you get your orchid back to full health and vigor.
The first step is to clean the root system. Carefully remove any dead, dried out, or damaged roots. Then rinse the remaining healthy roots with lukewarm water to remove any debris and dust that may be present.
Read also: Orchid leaves wrinkled and limp
Once you have cleaned the orchid plant, it is time to repot your orchid in a fresh potting mix. Choose an appropriate type of potting mix designed specifically for orchids.
Repotting
Repotting orchids is an essential part of orchid care, as it helps to keep your plants healthy and thriving. Repotting should ideally be done every two years, and when you do repot your orchid, it is important to use the right technique.
The first step in repotting an orchid is to remove it from its old potting medium. Gently shake off the old medium, and then rinse or soak the roots in lukewarm water. This will help to remove any built up salts or other debris. Once the roots have been rinsed, inspect them for signs of damage such as dead or dehydrated roots.
Read also: Healthy orchid roots
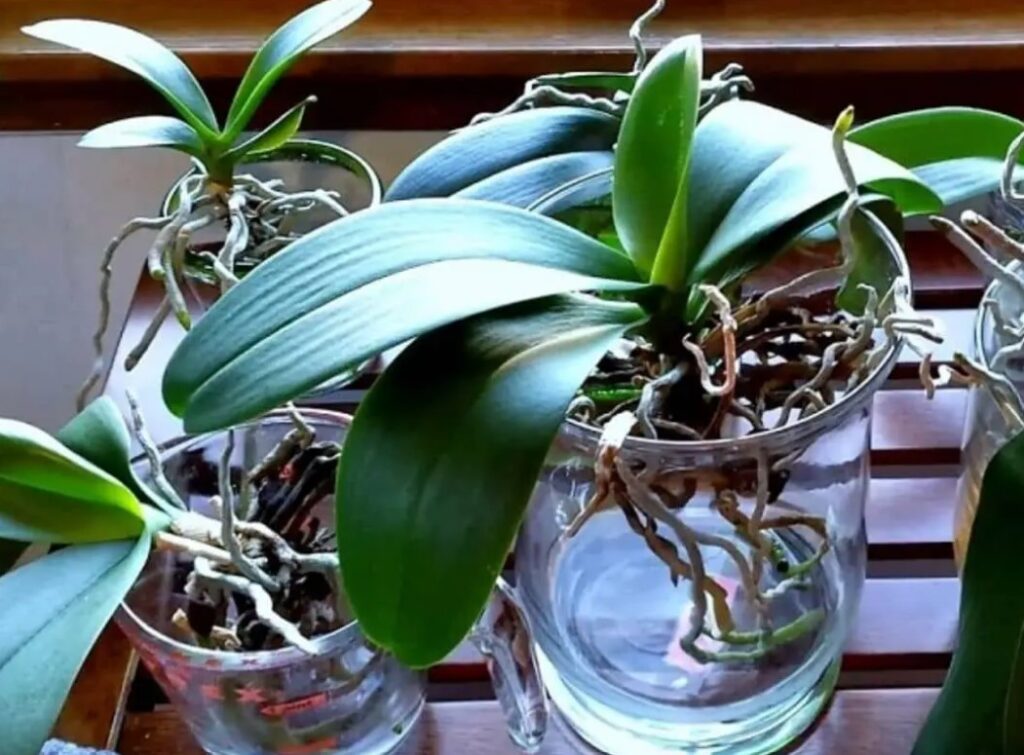
Hydroponics
Hydroponics is a method of cultivating plants without the use of soil. Instead, the plants are grown in nutrient-infused water and usually placed in a tray or similar container. Hydroponic systems can range from simple to complex and involve a variety of components such as pumps, timers, and reservoirs.
Read also:
Answers on questions:
Should I cut shriveled orchid roots?
Air roots are an essential part of many orchids’ growth and development process. They provide the plant with oxygen, help absorb nutrients from the environment, and promote a balanced root system. While it may seem counterintuitive to keep shriveled roots on your beloved orchid, removing them can be detrimental to the overall health of the plant.
Cutting away root growth can damage the root system, disrupting the balance and ultimately leading to a weakened orchid. Additionally, cutting and removing these shriveled roots can introduce various viruses into your plant’s health that were previously dormant.
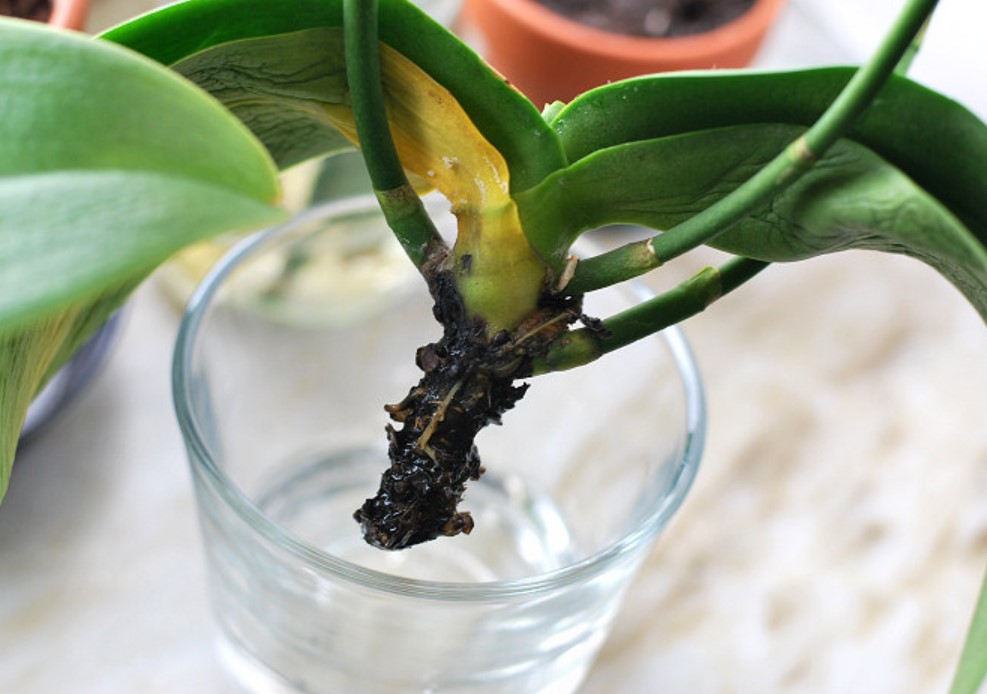
Can you revive dried orchid roots?
Reviving dried orchid roots is a possibility, though the success of the effort may depend on the extent of damage. When removing an orchid from its pot to check its roots, you’ll want to be very gentle as even healthy plants are fragile and easily damaged.
If the leaves appear shriveled or wrinkled, there may be a problem with the roots. Once you have a good look, use sterilized scissors or shears to trim off any damaged parts of the root system. After that, repotting your orchid in fresh potting mix may help jumpstart its recovery process.
However, it’s important to remember that not all root damage is reversible. Read also…
Can you revive dried orchid roots?
Reviving dried orchid roots is possible, but it depends on the severity of the damage. If the roots are only slightly dried out, you can soak them in room temperature water for a few hours to rehydrate them. However, if the roots are severely dried out, they may not recover and may need to be trimmed or removed. In either case, it is important to avoid overwatering the orchid as this can lead to further damage.
Should I cut shriveled orchid roots?
If the orchid roots are completely shriveled and dry, they are unlikely to recover and should be trimmed off. However, if only a portion of the root is shriveled or dry, it may be possible to save the rest of the root system by cutting off the damaged portion and allowing the healthy roots to regrow. It is important to use clean, sharp scissors or pruning shears to make the cuts, and to avoid damaging any healthy roots or the plant’s crown.
How do you rehydrate orchid roots?
To rehydrate orchid roots, you can soak them in room temperature water for about 15-30 minutes or until they become plump and firm.
What do dried out orchid roots look like?
Dried out orchid roots typically appear shriveled, brittle, and brown in color.
What do unhealthy orchid roots look like?
Unhealthy orchid roots may appear brown, black, mushy, or slimy. They may also have a foul odor or be shriveled and dry.
Can you bring back an orchid with no roots?
No, it is not possible to bring back an orchid with no roots as the roots are essential for the plant to absorb water and nutrients from the soil or growing medium. Without roots, the plant cannot survive.
Is there a way to get your orchid to give more flowers